How to Model a Female Head in Maya: The Polygon Method
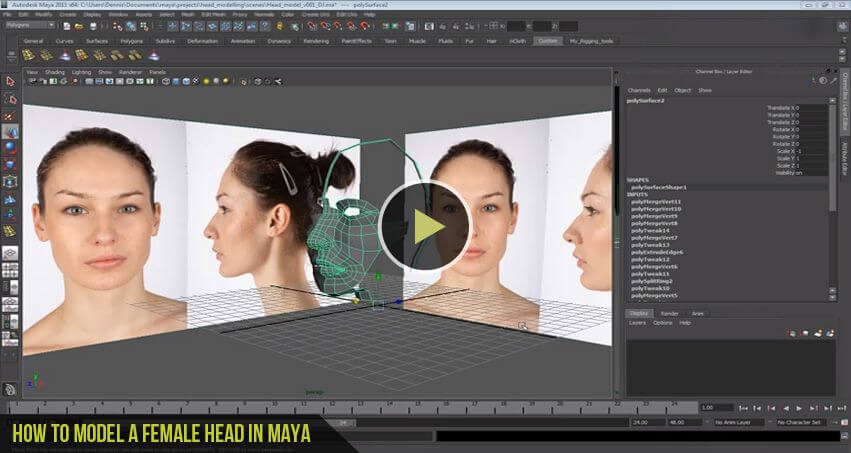
While sculpting tools are popular, Polygon Modeling remains the absolute backbone of the 3D animation industry. For organic subjects – like a female face this method gives you ultimate control over the geometry, ensuring the final mesh is lightweight and animation-ready.
Creating a realistic female head in Maya can be challenging, especially for beginners learning 3D character modeling. This tutorial covers the complete workflow of female head modeling in Autodesk Maya, including reference setup, facial proportions, edge flow, and clean topology techniques used in professional character creation.
If you are learning character modeling for games, animation, or VFX, this step-by-step guide will help you understand the fundamentals of realistic facial modeling and animation-friendly topology in Maya.
Special thanks and full credit to DevDennis for the original video tutorial and educational content shared with the 3D community. Additional credit to Adam Dewhirst, James Stone, and Armando Sepulveda for their inspiration and modeling knowledge mentioned in the original tutorial.
In this guide, we break down the “Reference-to-Model” workflow. This is the exact technique used by character artists to translate 2D photos into 3D anatomy.
Phase 1: The Blueprint Setup (Crucial)
You cannot model organic anatomy by guessing. The Polygon Method relies 100% on accurate Image Planes.
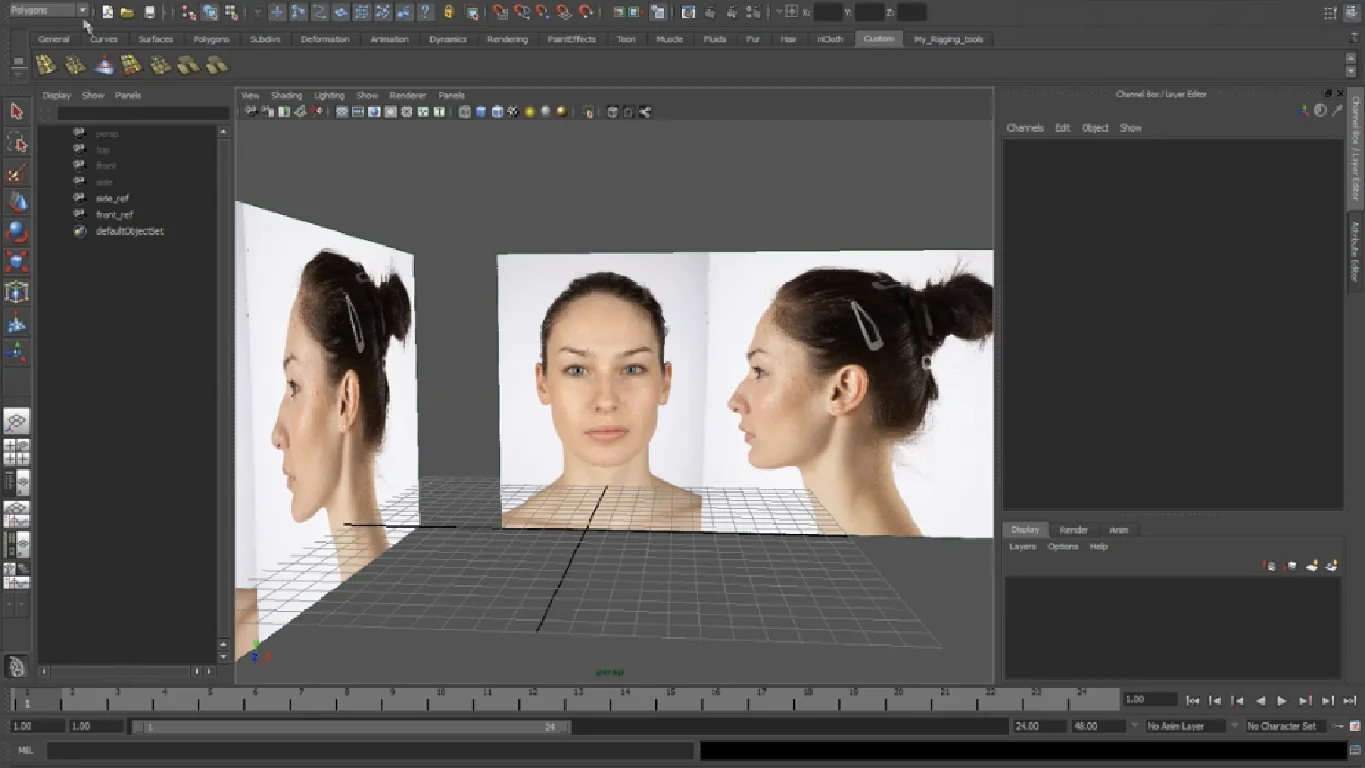
- Prepare Your References: You need two high-resolution photos of the same model – one Front View and one Side View.
- Import to Maya: Go to View > Image Plane > Import Image in your Front and Side orthographic cameras.
- Alignment: This is where beginners fail. Ensure the eyes, nose tip, and chin align perfectly across both views. If your reference is misaligned, your model will be distorted.
Pro Tip (2026 Standard): Select your image planes and lower the Alpha Gain to 0.5 in the Attribute Editor. This makes them semi-transparent so you can see your mesh “inside” the reference.
Download front & side reference Images
Download Tutorial Reference Plates (Front & Side)
Reference images courtesy of 3d.sk
Phase 2: The Polygon Building Process
Unlike “Box Modeling” (where you carve a cube), the Polygon Method starts with a single component or a primitive that is extruded to match the reference lines.
Step 1: The Eye Mask (The Anchor)
We always start with the eye. It is the center of facial expression.
- Technique: Create a simple Plane or use the Quad Draw tool.
- Action: Trace the outline of the eyelid in the Front View.
- Correction: Immediately switch to Side View and pull those vertices back to match the depth of the eye socket.
Step 2: Extrusion & Flow
Once the eye loop is done, we use the Extrude command (Ctrl + E).
- Select the outer edges of the eye mask.
- Extrude them outwards to form the cheekbones and brow.
- The Golden Rule: Always move your vertices in Front View first, then align them in Side View. This “Check-Adjust-Check” loop is the heart of the Polygon Method.
Phase 3: Bridging the Anatomy
Now that you have separate “islands” of geometry (an eye, a nose, a mouth), the Polygon Method involves Bridging them together.
- The Mouth: Model the lips using the same loop method as the eye.
- The Bridge: Select the open edges between the nose and the cheek. Use Mesh > Bridge to create new polygons that connect them.
- Organic Flow: Since we are modeling a female face, avoid sharp angles. Use the Soft Select tool (B key) to gently push and pull vertices to create the soft curve of the cheek and jawline.
Phase 4: The Clean-Up (Polishing)
The Polygon Method creates “Hard Edges” by default. To make it look like organic skin:
- Normals: Select your mesh and go to Mesh Display > Soften Edge.
- Symmetry Check: If you modeled only half the face, delete the other half and use Mirror Geometry (Axis: +X to -X) to get a perfect whole.
- History: Always go to Edit > Delete by Type > History to keep your scene file clean and fast.
Summary: Why This Method Wins
| Feature | Polygon Method | Sculpting (ZBrush) |
|---|---|---|
| Control | High (Vertex level) | Low (Brush level) |
| Topology | Clean (Ready for Rigging) | Dense (Requires Retopology) |
| Accuracy | Precise (Matches Reference) | Interpretive (Artistic Feel) |
Ready to Master Maya?
This guide covered the core concepts of the Polygon Method. To see every single click and vertex movement in real-time, check out the full video playlist below.
Watch the Full Playlist on YouTube
Don't Miss
How to Remove Background in Photoshop: 6 Methods Tested on the Same Image
How to Make Advanced Hair Selections in Photoshop (Step-by-Step Guide)

How to Make Photoshop Run Faster (Even with 1000+ Layers)
How to Reduce Photoshop File Size Without Losing Quality
How to Sharpen Blurry Images in Photoshop: 3 Methods That Work