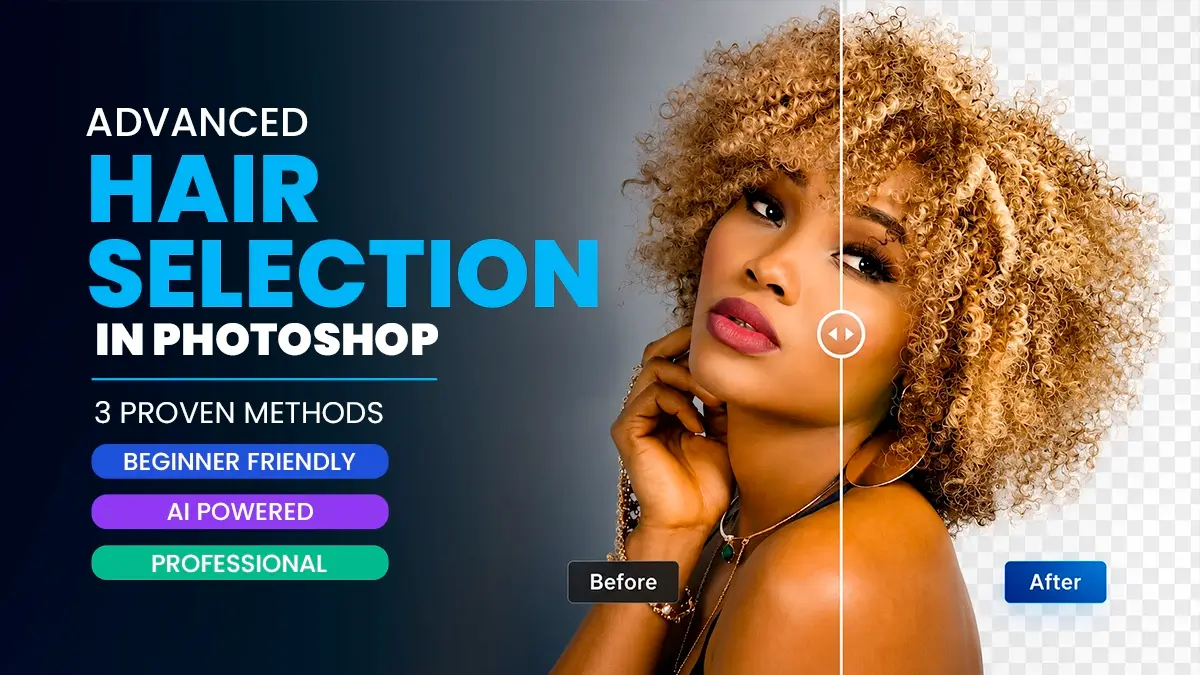
How to Make Advanced Hair Selections in Photoshop (Step-by-Step Guide)
Mastering hair selection in Photoshop takes practice because every image presents different challenges. I’ve been using Photoshop for years, and hair selection is still one of those tasks that can test your patience. Cutting out a product shot is easy. Cutting out curly hair against a messy background is where things get interesting. Fine strands, flyaways, transparency, and color spill can quickly turn a simple cutout into a frustrating hour-long job. Sometimes the hardest part isn’t making the selection. It’s making it look natural afterward.
This guide covers every serious method for making advanced hair selections in Photoshop – from the AI-powered one-click tools to the professional channel-based technique that still delivers the cleanest results for complex cases. Whether you’re a retoucher, social media designer, or print professional, you’ll find the right approach here.
More Photoshop Guides on CGfrog:
- How to Remove Background in Photoshop: 6 Methods Tested on the Same Image
- How to Sharpen Blurry Images in Photoshop: 3 Methods That Work
- How to Make Photoshop Run Faster (Even with 1000+ Layers)
- How to Reduce Photoshop File Size Without Losing Quality
- 300+ Free Color Gradients for Photoshop
Why Hair Selection in Photoshop Is So Difficult
Before you start throwing tools at the problem, it helps to understand why hair is so difficult to cut out in the first place. Over the years, I’ve noticed that most failed hair selections come from treating hair like any other object. It isn’t. Hair behaves differently because it contains transparency, fine detail, and color contamination that standard selection tools often struggle to interpret correctly.
- Semi-transparency: Hair ends, flyaways, and fine strands are partially transparent. A hard mask cuts these off completely, making edges look fake and plastic.
- Color contamination: Background color bleeds into the edges of hair, especially on bright or colorful backgrounds. Moving hair to a new background makes this contamination visible.
- Complexity: A single head of hair can contain thousands of individual edge transitions — far too many for edge-detection algorithms to handle perfectly.
- Low contrast: Dark hair on a dark background, or blonde hair against light backgrounds, gives selection tools almost nothing to work with.
Once you understand what is causing the problem, choosing the right technique becomes much easier. In many cases, the difference between a clean cutout and a terrible one is simply picking the right method for the image in front of you.
Before You Start: Set Up for Success
Setup
A good setup can dramatically improve the quality of your hair selection in Photoshop, regardless of the technique you use.
Before working on hair specifically, make sure you are comfortable with background removal basics. Our complete guide to removing backgrounds in Photoshop covers all 6 methods including the channel technique.
Prepare Your File Properly
Always work non-destructively. Before making any selection, duplicate your layer Ctrl + J on Windows or Cmd + J on Mac. All hair selection work should happen on a copy – never destroy your original pixels.
Also take a quick look at the image quality before you begin. Hair selections become much harder when you’re working with heavily compressed images, screenshots, or low-resolution photos. If the individual strands aren’t visible in the source image, Photoshop has very little detail to work with.
Pro Tip: One thing I learned the hard way is that Photoshop can only work with the information it has. If the hair blends into the background, even the best selection tools will struggle. On the other hand, a well-lit photo with good subject-background separation can save you a huge amount of retouching time. Whenever possible, try to think about the cutout before the photo is even taken.
Method 1: Select Subject + Remove Background (AI – Fastest)
Beginner Friendly
AI Powered
If you’re using a recent version of Photoshop, this is usually the first method I would try. It takes less than a minute and often gets you surprisingly close to a usable result. I wouldn’t trust it for high-end retouching work, but for social media graphics, marketing visuals, and quick composites, it can save a lot of time.
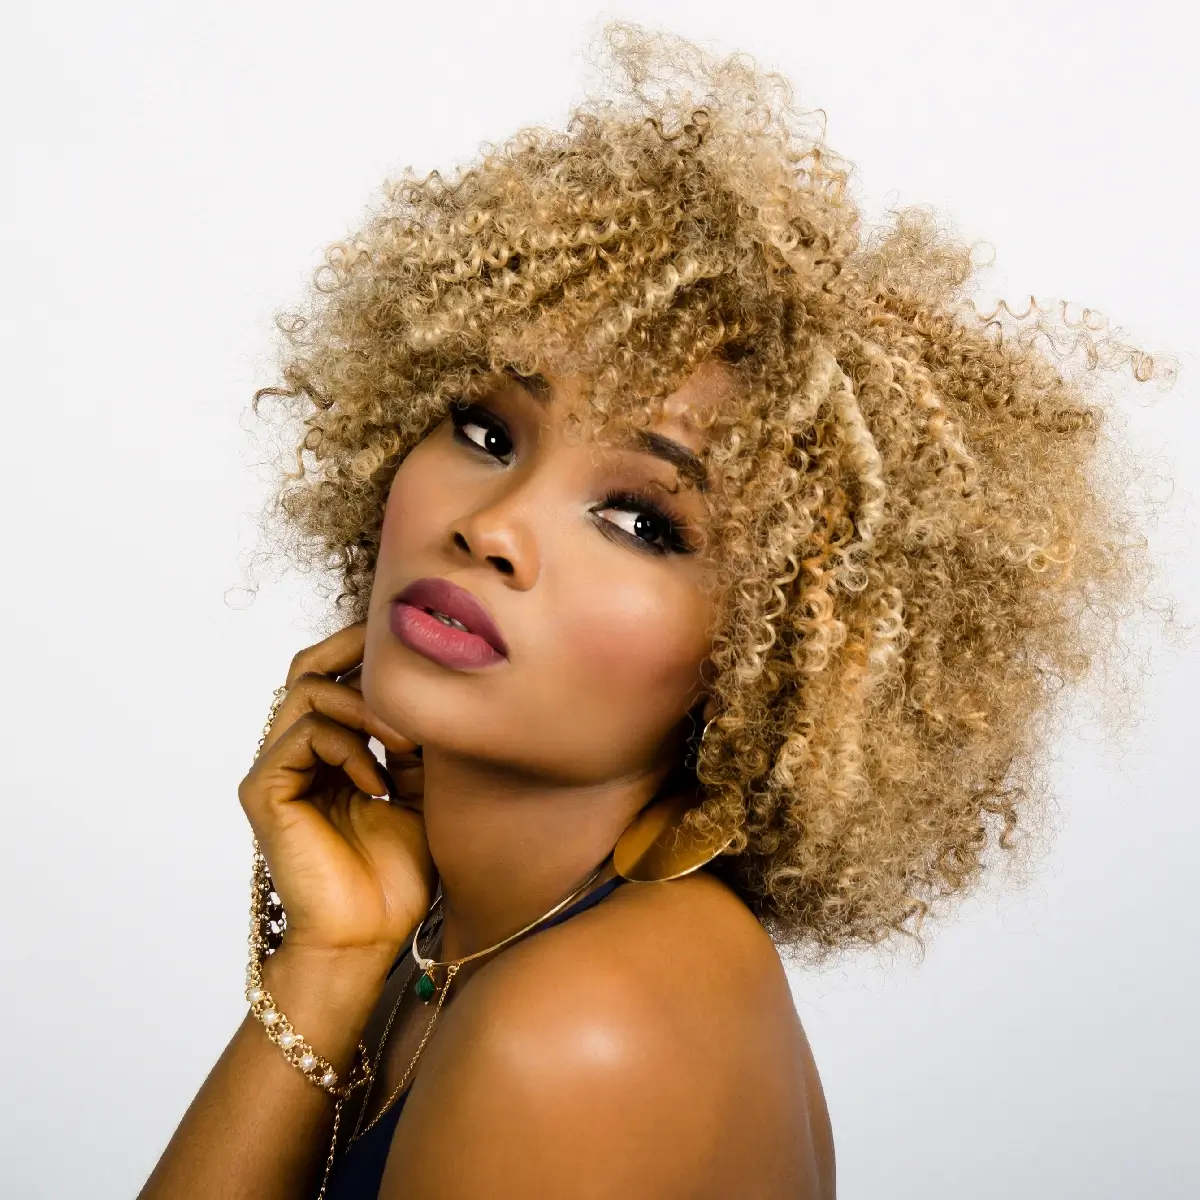
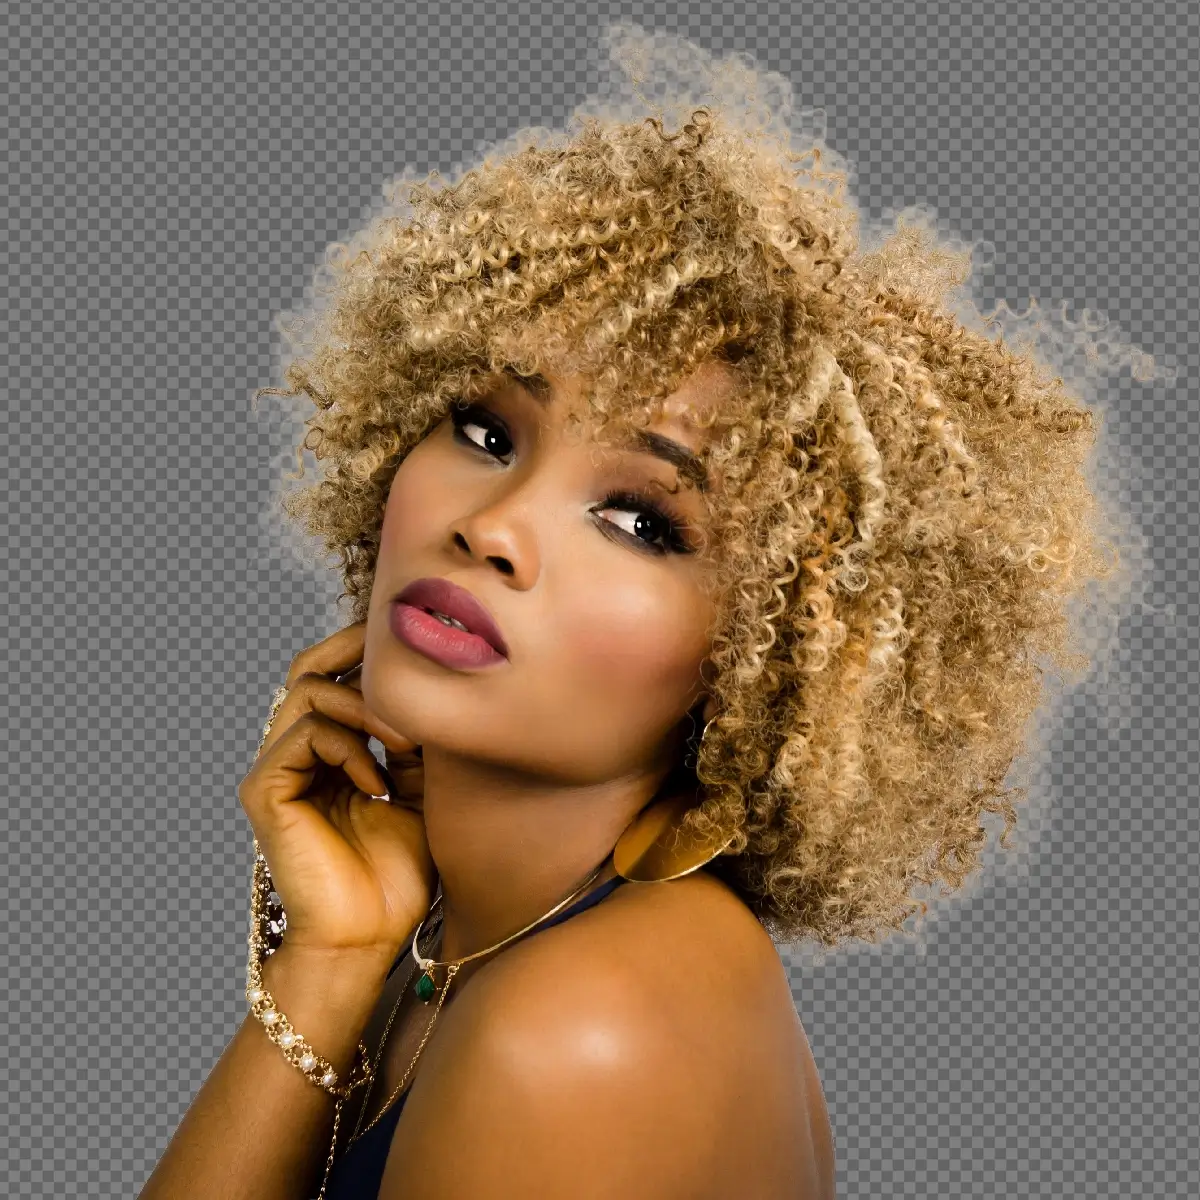
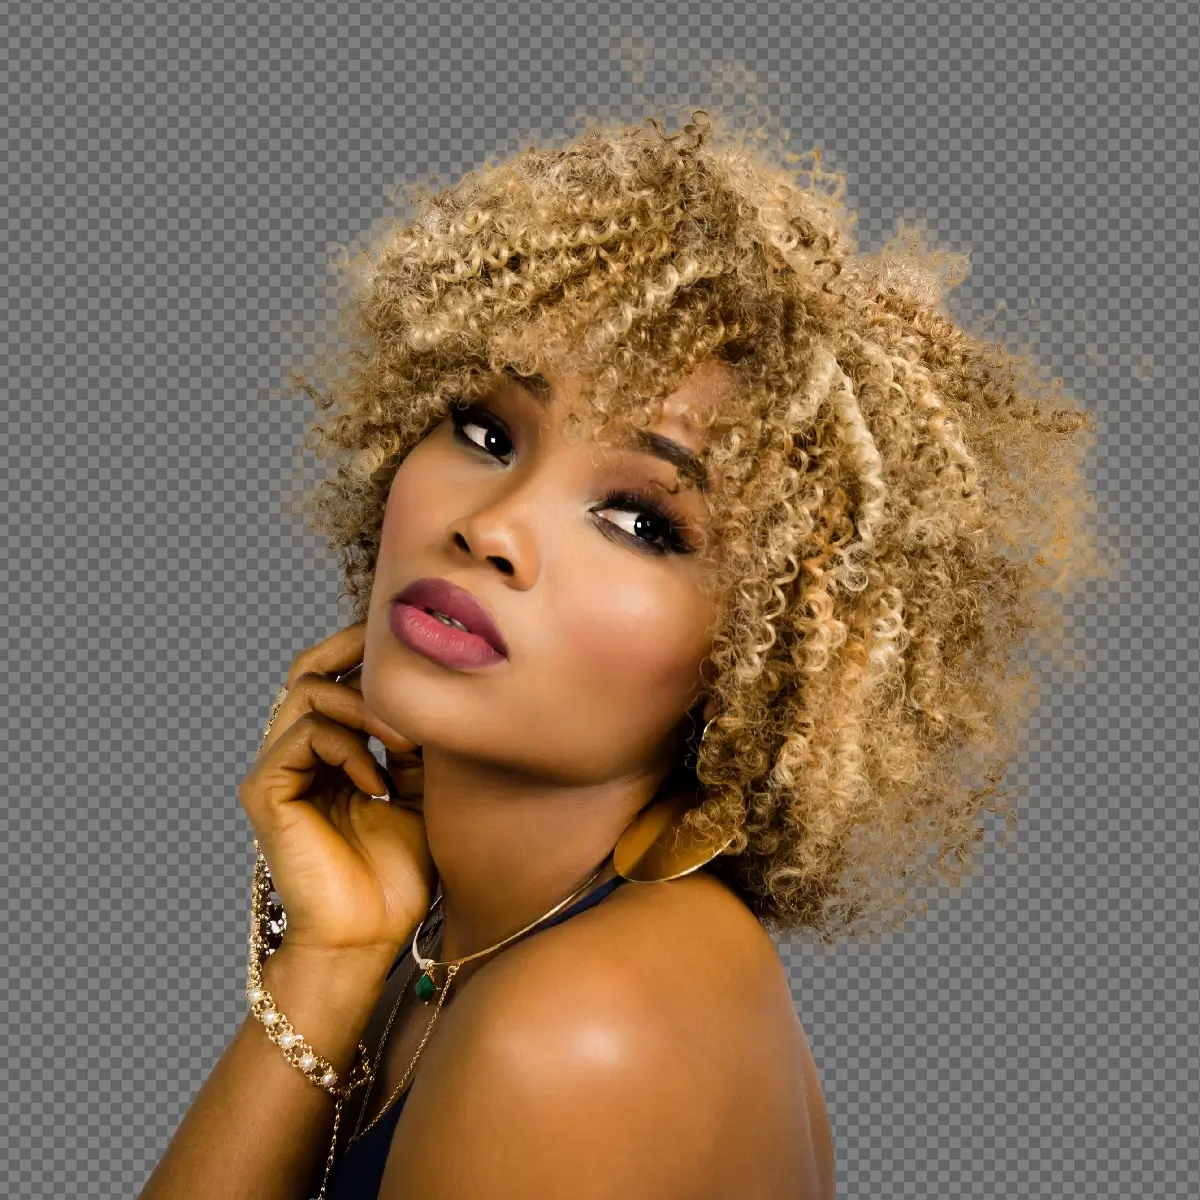
AI Remove Background tool – fastest method but notice the slight edge roughness and halo around the hair tips
Step 1
Use Select Subject
Go to Select → Subject. In my experience, Select Subject works best when the subject is clearly separated from the background. Studio portraits, outdoor portraits with blurred backgrounds, and product-style images usually produce the cleanest results.
Step 2
Or Use Remove Background
In the Properties panel (Window → Properties), with your layer selected, click “Remove Background.” This automatically creates a layer mask that removes the background. Adobe has improved this tool quite a bit over the last few Photoshop releases. On good source images, I’ve seen it capture loose strands and flyaway hair surprisingly well compared to older versions.
Step 3
Refine the Result
AI selections are rarely perfect. After the auto-selection, go to Select → Select and Mask Alt + Ctrl + R to manually refine the hair edges using the Refine Edge Brush. See Method 2 for the full workflow inside Select and Mask.
When AI fails: Don’t be surprised if the AI struggles with blonde hair, curly hair, or subjects that blend into the background. When that happens, I usually stop fighting the automatic tools and switch to the Channel method instead. It takes longer, but the results are often much cleaner.
Method 2: Channel-Based Selection
Professional
For difficult hair selection in Photoshop projects, the Channel method still delivers some of the best results. Even with all the AI tools available today, there are still situations where I go back to channels. Whenever Photoshop starts losing fine strands, creating muddy edges, or struggling with low-contrast backgrounds, the Channel method usually gives me more control. It takes longer than Select and Mask, but on difficult images the extra effort is often worth it.
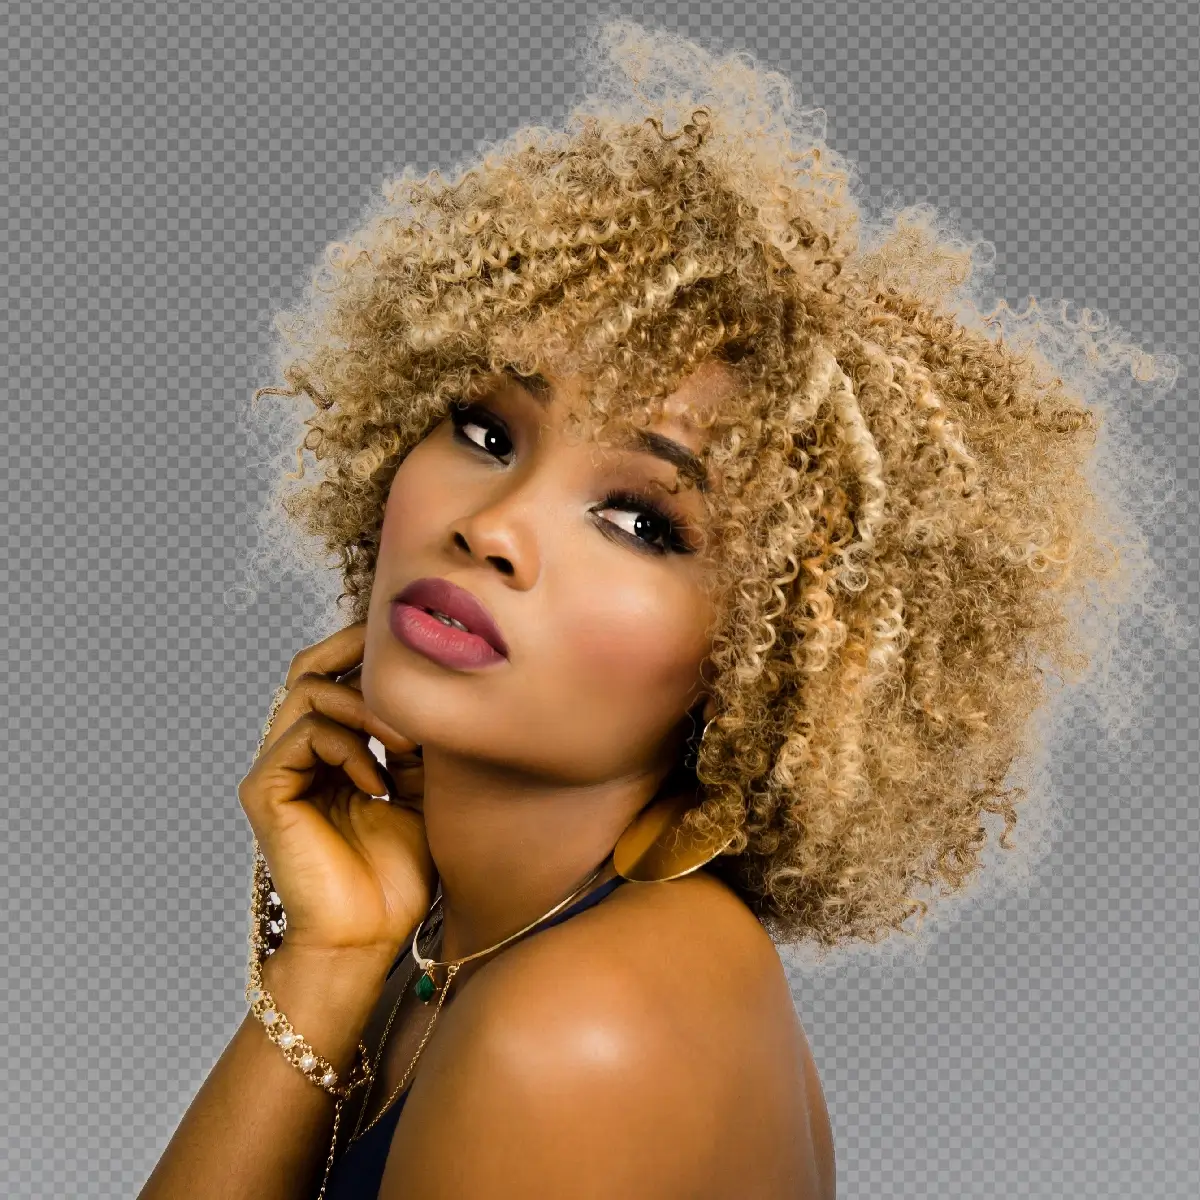
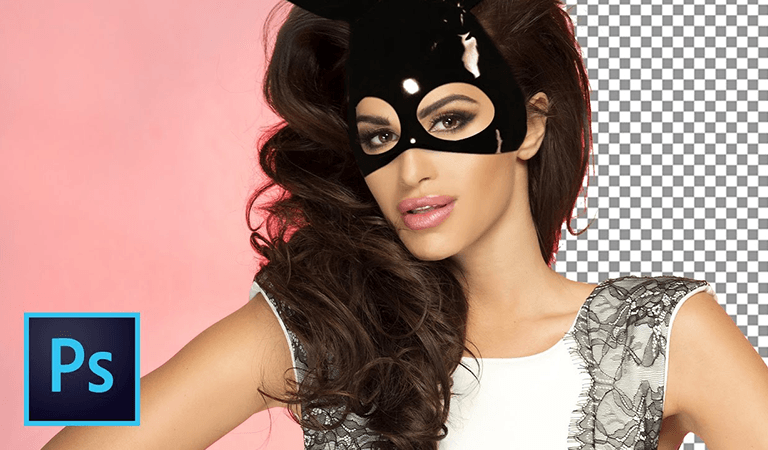
Channel-Based Selection – fine strands and semi-transparency preserved using the Blue channel
The idea behind this method is surprisingly simple. Instead of asking Photoshop to guess where the hair is, you’re manually creating the contrast needed to build a clean mask. Once you understand that concept, channels become much less intimidating.
Step 1
Open the Channels Panel
Go to Window → Channels. You’ll see four channels: RGB (composite), Red, Green, and Blue. Click on each individual channel to view it as a greyscale image.
Step 2
Find the Best Channel
Look for the channel where the hair shows the most contrast against the background — ideally, hair is dark/black and background is bright/white (or vice versa). In most studio portraits:
- Blue channel – often best for dark hair on light backgrounds; highest contrast on skin vs hair
- Red channel – often best for fair/blonde hair; retains detail in light strands
- Green channel – good middle ground; cleanest channel for most natural images
Choose the channel with the clearest distinction between hair and background. In many of the portrait retouching projects I’ve worked on, the Blue channel tends to be the best starting point. That said, there is no universal rule. I always check all three channels before deciding which one to use because every image behaves differently.
Step 3
Duplicate the Best Channel
Right-click your chosen channel and select “Duplicate Channel.” This creates a copy (e.g., “Blue copy”) that you’ll work on without affecting the original image.
Step 4
Increase Contrast with Curves or Levels
Click on your duplicated channel. Press Ctrl + L (Levels) or Ctrl + M (Curves). Drag the shadows input slider right and the highlights input slider left to push the channel toward a clean black-and-white image. You want:
- The subject (person) to become pure black
- The background to become pure white
- The hair edges to remain grey (this preserves semi-transparency)
This is usually the stage where people get carried away. If you push the contrast too far, the hair may look cleaner initially, but you’ll lose the soft transparency that makes hair look natural. I prefer making several small adjustments rather than one aggressive adjustment.
Step 5
Paint in the Body Manually
Select the Brush Tool B set to pure black. On your duplicated channel, carefully paint over the body, face, and clothing – everything that should be fully selected (fully black in the channel). This fills in midtone areas that the Levels adjustment couldn’t reach. Use a hard brush for edges, soft brush for transitions.
Don’t worry about the hair during this step. Focus only on the solid areas of the subject. The goal is to create a strong foundation for the mask while preserving as much hair detail as possible.
Step 6
Load Channel as Selection
Hold Ctrl and click on your duplicated channel thumbnail. This loads it as a selection – white areas = selected, black areas = not selected. Since you want the subject selected (not the background), go to Select → Inverse Ctrl + Shift + I to flip the selection.
Step 7
Apply as Layer Mask
Go back to the Layers panel (click the RGB composite channel first to restore colour view). With your selection active and the main layer selected, click the “Add Layer Mask” button at the bottom of the Layers panel. Your channel selection is now applied as a mask – complete with semi-transparent hair edges.
The first result is rarely perfect. I almost always zoom in and spend a few minutes cleaning up small areas on the mask. Think of the channel method as a starting point for refinement rather than a one-click solution.
Pro Tip: One mistake I see quite often is treating channels and Select and Mask as competing methods. In reality, the best results usually come from combining them. I’ll often build the initial mask using channels, then switch to Select and Mask to recover a few extra strands around difficult edges.
Method 3: Select and Mask Workspace (Best for Most Cases)
Professional
If I had to choose just one method for hair selection in Photoshop, it would be Select and Mask. Most of the time, this is where I end up, even when I start with Select Subject or the Object Selection Tool. It offers the best balance between speed and control, which is why it has become the standard workflow for many Photoshop users.
Select and Mask with Refine Edge Brush – best overall result, natural edges with flyaways captured
Step 1
Make an Initial Selection
Start with any rough selection of the subject. You can use:
- Quick Selection Tool
W– paint over the subject - Object Selection Tool – draw a box around the subject
- Select → Subject – AI auto-selection
Don’t waste time trying to create a perfect selection at this stage. The goal is simply to isolate the subject. I usually focus on getting the body, face, and overall silhouette right, then let Select and Mask handle the difficult hair details later.
Step 2
Open Select and Mask
With your selection active, go to Select → Select and Mask (shortcut: Alt + Ctrl + R on Windows / Alt + Cmd + R on Mac). You can also click the “Select and Mask” button in the Options bar when a selection or mask tool is active.
Step 3
Set Your View Mode
In the top-right Properties panel, change the View dropdown. The most useful views for hair selection are:
- On Black – shows missing hair strands clearly against dark
- On White – reveals fringing and color contamination
- Overlay – shows the mask directly on the image
- On Layers – previews against the actual new background if you’ve placed one
Toggle between On Black and On White while refining — problems invisible on one background become obvious on the other.
Step 4
Use the Refine Edge Brush – The Key Tool
Select the Refine Edge Brush Tool (shortcut: R inside Select and Mask). This is the most important tool for hair. It tells Photoshop: “analyze this area in detail and find the fine edges.”
This is where most of the magic happens. Instead of brushing over the entire head of hair, concentrate only on the transition area where hair meets the background. One of the most common mistakes beginners make is overpainting. The more area you ask Photoshop to analyze, the more likely it is to create messy edges and artifacts.
Pro Tip: One thing that helped me improve hair selections was learning when to stop refining. It’s tempting to keep brushing over the same area again and again, hoping for a perfect edge. In reality, too much refinement often makes the selection worse. Once the hair looks natural at normal viewing size, move on.
Step 5
Enable Smart Radius
In the Properties panel on the right, under Edge Detection, check “Smart Radius.” Then increase the Radius slider to around 5–20px depending on hair complexity. Smart Radius tells Photoshop to use a tight radius along sharp edges (like the shoulders) but a wider radius along complex areas (like hair). This produces far better results than a fixed radius. For most portrait work, I rarely push the Radius slider very high. Small adjustments usually produce cleaner results. If you find yourself using extreme values, it’s often a sign that the initial selection needs improvement.
Step 6
Enable Decontaminate Colors
Under Output Settings, check “Decontaminate Colors” and set the Amount to around 50–75%. This removes background color that has bled into the hair edges — one of the most common giveaways of a bad hair cutout. Note: this option forces the output to a New Layer with Layer Mask, which is fine.
Step 7
Output as Layer Mask
In the Output To dropdown, choose “Layer Mask” or “New Layer with Layer Mask.” Click OK. Your subject is now cut out with a refined hair mask.
Fixing Color Contamination After Hair Selection
A clean selection doesn’t always mean a convincing cutout. One of the most common problems after removing a background is color contamination around the hair. This usually appears as a subtle color fringe that came from the original background. It might not be obvious at first, but once you place the subject onto a different background, those unwanted color edges become much easier to spot. Even after completing a successful hair selection in Photoshop, unwanted color contamination can still appear around the edges.
Method A – Decontaminate Colors (Automatic)
This is usually the first solution I try because it’s built directly into Select and Mask. In many cases, Photoshop does a surprisingly good job of removing unwanted color spill without requiring any additional work. It’s not perfect, but it can save a lot of cleanup time.
Method B – Hue/Saturation Clipping Mask
Create a Hue/Saturation adjustment layer clipped to your subject layer Alt + click between the layers. Reduce saturation on the specific colour of your original background. For a green screen, reduce the greens. This neutralises colour contamination without affecting the rest of the image.
This approach works particularly well when you’re dealing with green screen contamination or bright colored backgrounds that have reflected onto the hair.
Method C – Fringe / Defringe
Go to Layer → Matting → Defringe. Enter a pixel value (usually 1-2px). This removes a thin band of background pixels from the very edge of the selection. Use this carefully. While Defringe can remove unwanted edge pixels, it can also remove genuine hair detail if pushed too far. I usually try the previous methods first and only use Defringe when a small amount of cleanup is still needed.
Method D – Paint on the Mask Edge
For stubborn spots, select your layer mask and use a tiny, soft-edged brush set to black at low opacity (20–30%). Gently paint along the contaminated edges to gradually reduce them. This is the most precise method but takes the most time.
This method takes the most time, but it also gives you the most control. For important client work or high-resolution composites, manual cleanup is often the difference between a good result and a great one.
Practical Note: Color contamination is often easier to spot after placing the subject onto its final background. If you’re unsure whether contamination is still present, temporarily place a black layer and a white layer behind the subject and check the edges against both. Problems that disappear on one background often become obvious on the other.
Which Method Should You Use?
| Your Situation | Best Method | Time Required |
|---|---|---|
| Plain background, simple hair, quick job | Method 1 – AI Remove Background | 1-2 minutes |
| Complex hair, dark background, maximum quality | Method 2 – Channels | 15-20 minutes |
| Most standard portrait cutouts | Method 3 – Select and Mask | 15-20 minutes |
Real-world workflow: If you’re unsure where to start, begin with the fastest method and only move to more advanced techniques when necessary. In many cases, Select Subject or Object Selection will get you most of the way there. Save the Channel method for images where Photoshop struggles to separate the hair from the background. The best workflow is often the one that gives you the result you need in the least amount of time.
Recommended Resources
If you’re working on client projects, Envato Elements gives you access to premium mockups, stock photos, fonts, and Photoshop assets under one subscription.
For individual assets, Creative Market has thousands of Photoshop brushes, actions, and templates from independent designers.
FAQ
The Refine Edge Brush inside the Select and Mask workspace is the most effective single tool for hair. For complex cases, the Channels method produces the cleanest professional results. In Photoshop 2024+, the AI-powered Remove Background button handles many straightforward cases automatically. For most users, Select and Mask offers the best balance between speed, quality, and ease of use.
Use the Refine Edge Brush in Select and Mask and paint over the hair edges – this is specifically designed for fine, wispy strands. For the cleanest results on very fine hair, use the Channels method which preserves semi-transparency that other tools destroy.
The two most common causes are: (1) hard edges – the mask is cutting off semi-transparent hair ends, making them look like they were cut with scissors; and (2) color contamination – background color has bled into the hair edges and is now visible against the new background. Use Decontaminate Colors in Select and Mask, and ensure you’re preserving hair transparency with a soft-edged selection technique. Viewing the cutout against both light and dark backgrounds is one of the easiest ways to spot these problems before the final image is delivered.
This is the hardest scenario in hair selection. The Channels method is your best option – look for the channel with the highest contrast between hair and background (often the Blue channel). You may need to use Curves aggressively to boost contrast and paint in the body manually. This is one of the few situations where manual techniques still have a clear advantage over AI-powered selection tools.
Yes. Photoshop 2020+ includes Select Subject and the Remove Background button (in the Properties panel), both powered by Adobe Sensei AI. Recent Photoshop versions have improved hair detection considerably, especially on images with good subject-background separation.
The Refine Edge Brush is a tool inside Select and Mask that samples the pixels you paint over and uses edge-detection algorithms to find fine details like individual hair strands. Where a normal selection mask creates a hard edge, the Refine Edge Brush creates a soft, detail-aware transition that captures flyaways and semi-transparent hair ends.
Always use a layer mask for hair cutouts. Layer masks are non-destructive – they hide pixels without deleting them, so you can always paint back detail you accidentally removed. Never directly erase hair pixels; always work with masks so you can refine and correct at any stage. A non-destructive workflow makes it much easier to revisit and improve a selection later if needed.
Hair selection is one of those Photoshop skills that improves with practice. No single method works perfectly on every image, which is why experienced retouchers often combine multiple techniques. The more you understand how selections, masks, channels, and edge refinement work together, the easier it becomes to handle even the most difficult hair cutouts.
Don't Miss
How to Remove Background in Photoshop: 6 Methods Tested on the Same Image
10 Hidden Photoshop Features Will Change and Improve Your Photography Skills

How to Make Photoshop Run Faster (Even with 1000+ Layers)
How to Reduce Photoshop File Size Without Losing Quality
How to Sharpen Blurry Images in Photoshop: 3 Methods That Work