How to Sharpen Blurry Images in Photoshop: 3 Methods That Work
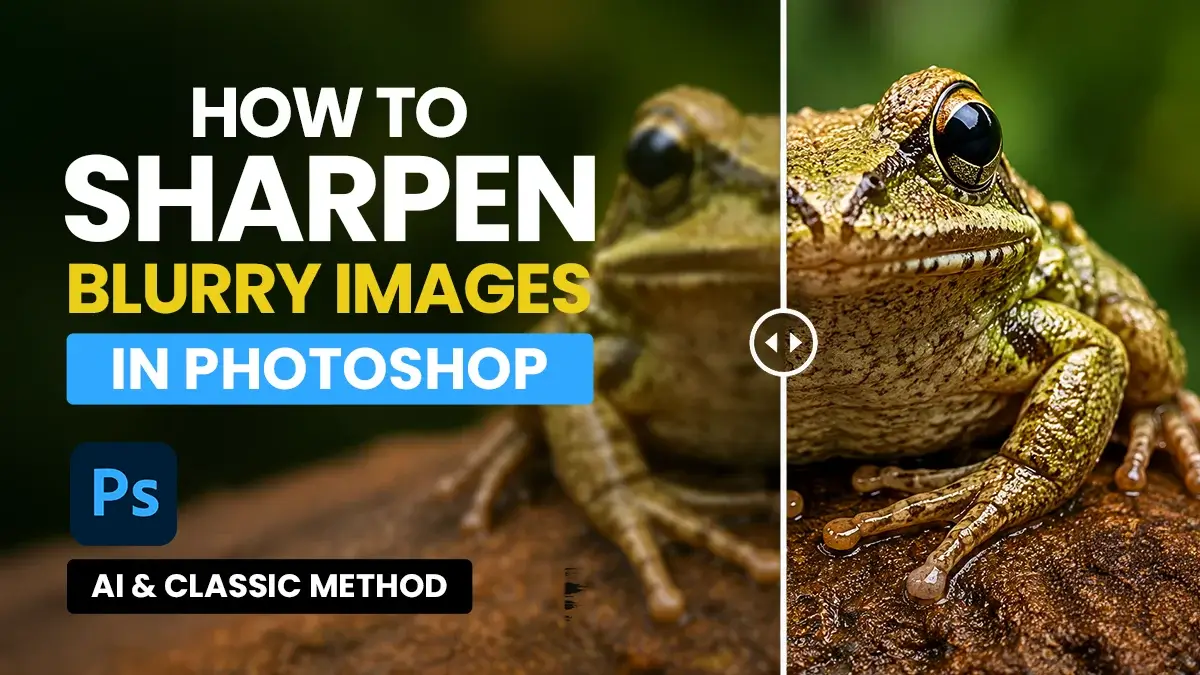
If you’re wondering how to sharpen blurry images in Photoshop or fix blurry photos, you’re not alone. Blurry images can be caused by missed focus, low resolution, camera shake, or heavy compression, but modern Photoshop tools can often recover far more detail than older sharpening techniques. We’ve all captured a photo that looked perfect at first glance, only to discover later that it’s slightly blurry. Maybe the focus missed by a fraction, the image was compressed during sharing, or the original file was simply too small.
Years ago, Photoshop users relied heavily on tools like Unsharp Mask and Shake Reduction. While Unsharp Mask is still available, it often increases noise and creates harsh edges when pushed too far. And if you’re looking for the old Shake Reduction filter, Adobe quietly retired it years ago.
Don’t Miss
Use This Handy Photoshop Trick to Convert Low-Res Graphic to High-Res
Move from Illustrator to Photoshop without Rasterizing
28 Awesome Tips and Tricks of Photoshop CC
You Probably Didn’t Know These 25 Unknown Photoshop Tips, Tricks & Shortcuts
How To Easily Cut Out A Background In Photoshop
The good news is that modern Adobe Photoshop offers much more powerful solutions. Thanks to Adobe’s AI-powered tools, recovering blurry photos is now easier than ever.
Method 1: How to Sharpen Blurry Images in Photoshop Using Generative Upscale
If you’re working with a small, pixelated image, Generative Upscale is usually the best place to start.

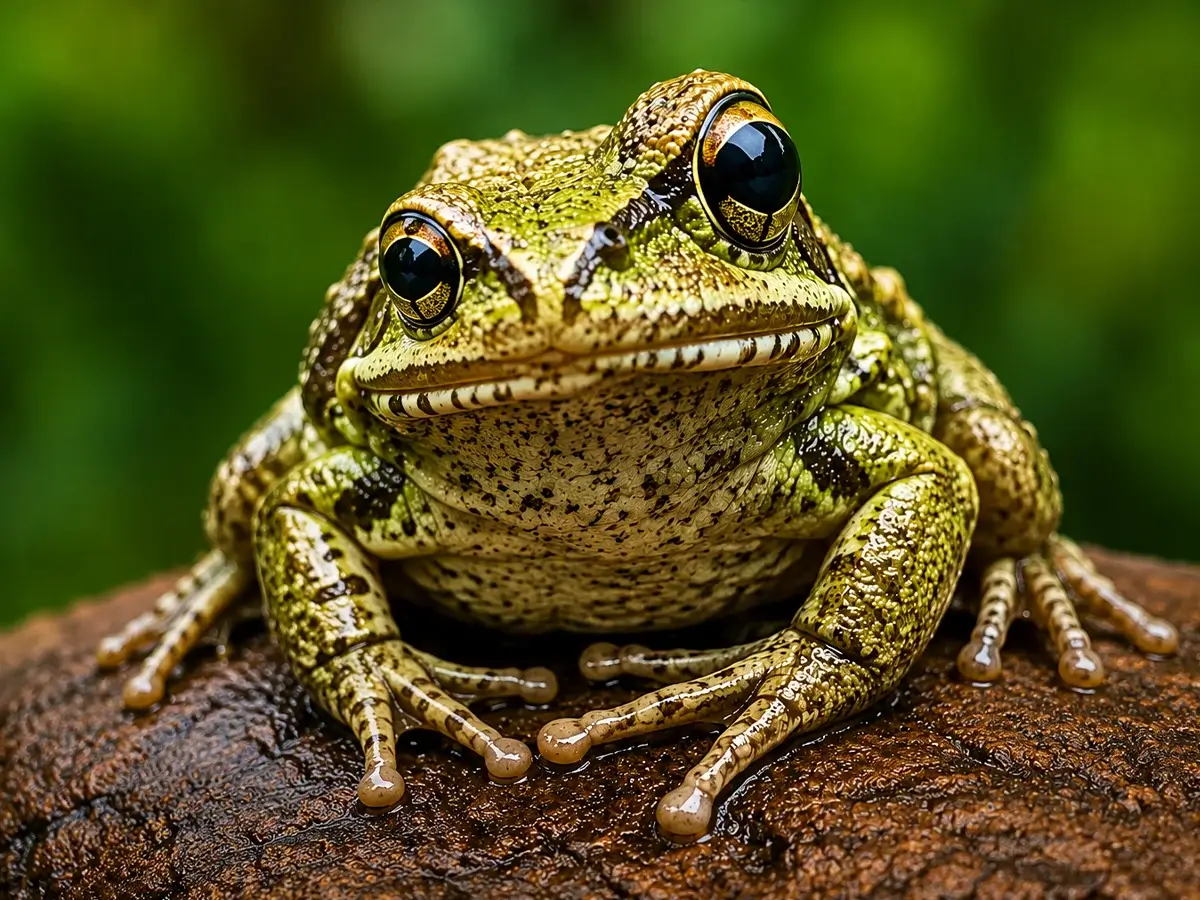
Generative Upscale can recover details from low-resolution images.
Unlike traditional resizing tools, Generative Upscale doesn’t simply stretch pixels. It uses AI to analyze the image and create additional detail, helping low-resolution photos look much sharper and cleaner.
Open your image and choose Image > Generative Upscale. Select the latest enhancement model (Firefly Upscaler/Topaz Gigapixel) if available and start with a 2x upscale. In many cases, a 2x increase produces more natural results than jumping straight to 4x.
I’ve been surprised by how well this feature handles poor-quality source images. Files that once looked unusable can often be recovered well enough for social media posts, presentations, and even small print projects.
Download Frog Sample Images (Before & After)
Method 2: How to Sharpen Blurry Portraits in Photoshop Using Neural Filters
Portraits require a different approach.
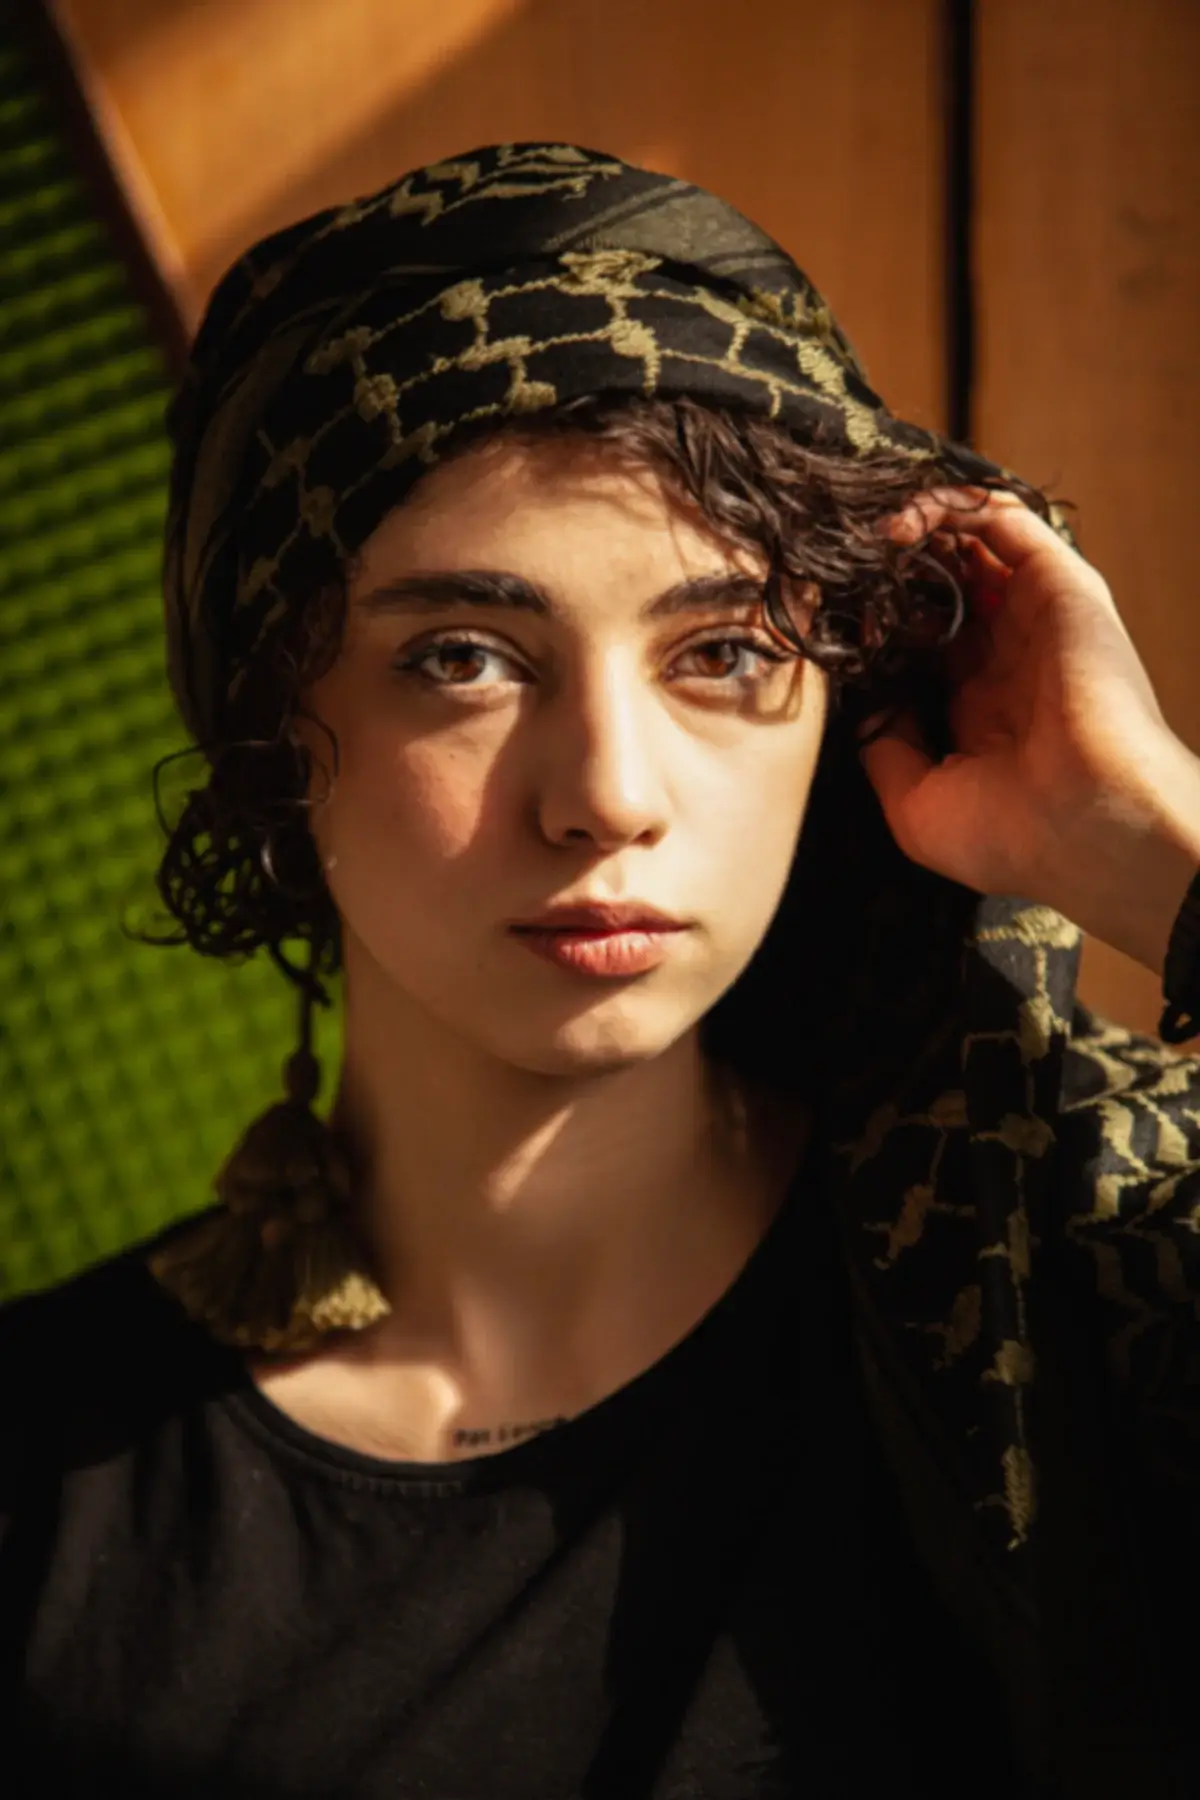
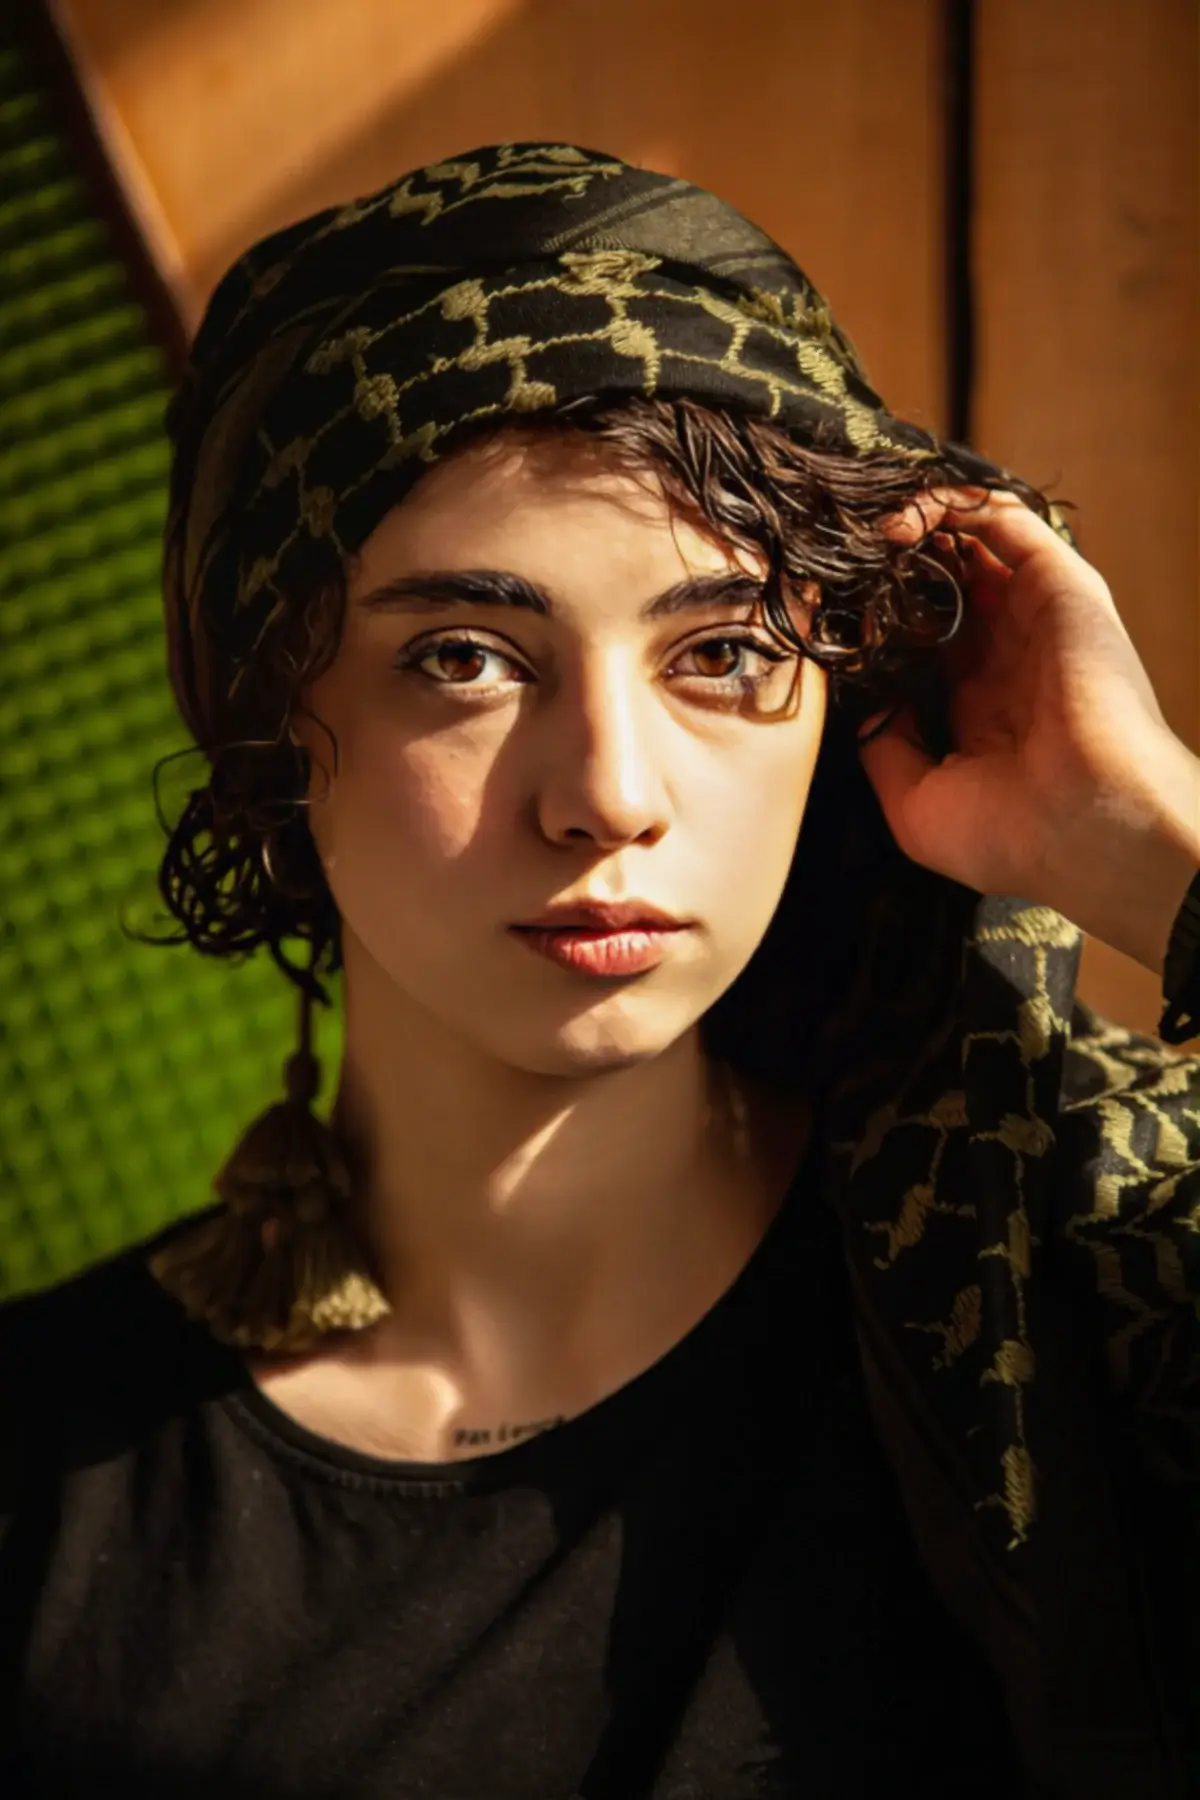
Neural Filters can restore facial details while keeping portraits natural.
AI upscaling can sometimes alter facial features, especially when the original image lacks detail. For photos of people, Photoshop’s Neural Filters generally produce more reliable results because they’re specifically designed to understand facial structure.
Open Filter > Neural Filters and activate the Photo Restoration filter. The two controls worth paying attention to are Photo Enhancement and Enhance Face.
A moderate amount of Photo Enhancement helps clean up noise and softness, while Enhance Face can restore detail in eyes, skin, and facial features. It’s tempting to push the sliders to their maximum values, but subtle adjustments almost always produce more realistic results.
The goal isn’t to create a perfect AI-generated face. The goal is to make the original photograph look sharper while preserving the person’s natural appearance.
Download Portrait Sample Images (Before & After)
Method 3: How to Sharpen Everyday Photos in Photoshop Using High Pass
Sometimes the image isn’t actually blurry. It just lacks a little crispness.


High Pass sharpening remains one of the most effective techniques for subtle image enhancement.
For product photography, architecture, landscapes, and many commercial images, the classic High Pass technique still works remarkably well.
Duplicate your image layer, then go to Filter > Other > High Pass. Increase the Radius until only the important edges of your subject become visible. Once applied, change the layer blend mode to Overlay for stronger sharpening or Soft Light for a more natural result.
If the image still needs a little extra crispness, you can apply Filter > Sharpen > Unsharp Mask on top of the High Pass layer. Use it sparingly—too much sharpening can introduce halos and make the image look unnatural.
This method remains popular among professional retouchers because it offers precise control. If the effect becomes too strong, simply reduce the layer opacity until the sharpening looks natural.
Unlike aggressive sharpening filters, High Pass sharpening usually avoids the ugly halos and excessive noise that can make an image look over-processed.
Download High Pass Sample Images
Pro Tip
AI sharpening and aggressive sharpening often make photos look overly smooth or “plastic.” After sharpening, consider adding a tiny amount of grain using Filter > Noise > Add Noise with the Monochromatic option enabled. A value between 0.5% and 2% is usually enough to restore natural texture, especially in portraits.
Which Photoshop Sharpening Method Should You Use?
If you’re using a recent version of Photoshop, Generative Upscale is our top recommendation. It delivers the biggest improvement with the least effort and can rescue low-resolution or heavily blurred images that older sharpening techniques simply can’t fix.
That said:
- Generative Upscale → Best overall choice
- Neural Filters → Best for portraits and faces
- High Pass + Unsharp Mask → Best for lightly soft images that only need extra crispness
There is no single sharpening method that works for every image. The right technique depends on whether you’re working with a portrait, product photo, wildlife shot, or low-resolution image. These three methods cover most everyday situations and are a great starting point for modern Photoshop users.
FAQ
Yes, Photoshop can improve many blurry photos, especially those affected by low resolution, slight focus issues, or image compression. However, if an image is severely out of focus or motion-blurred, Photoshop can only improve it to a certain extent.
For most users, Generative Upscale is currently the best option. It uses AI to enhance details and improve image quality while increasing resolution at the same time.
In most cases, yes. Unsharp Mask only increases edge contrast, while Generative Upscale can create additional detail and improve overall image quality. For heavily blurred or low-resolution images, Generative Upscale usually produces better results.
Neural Filters are often the safest option for portraits because they are designed to enhance facial features while maintaining a natural appearance. Excessive sharpening can make skin look unnatural.
The High Pass filter is a classic Photoshop sharpening technique that enhances edge detail without dramatically affecting the entire image. It is commonly used by photographers and retouchers for subtle sharpening.
Over-sharpening can increase noise and create unwanted halos around edges. If this happens, reduce the sharpening amount or add a small amount of Monochromatic Noise to restore a more natural texture.
Yes. Photoshop’s Generative Upscale feature is specifically designed to improve low-resolution images by increasing resolution and enhancing detail using AI.
Adobe has largely shifted its focus toward AI-powered tools such as Generative Upscale and Neural Filters. These modern tools generally provide better results than the older Shake Reduction filter for most images.
A good rule is that sharpening should be noticeable only when zoomed in. If you start seeing halos, jagged edges, or plastic-looking skin, you’ve probably gone too far.
Some traditional methods such as High Pass and Unsharp Mask may be available in Photoshop Elements, but newer AI features like Generative Upscale and certain Neural Filters require the full version of Adobe Photoshop.
Conclusion
Generative Upscale is currently the easiest way to sharpen blurry images in Photoshop, while Neural Filters and High Pass sharpening remain useful for portraits and everyday images.
Don't Miss
How to Remove Background in Photoshop: 6 Methods Tested on the Same Image

How to Make Photoshop Run Faster (Even with 1000+ Layers)

10 Things You Must Avoid in Photoshop CC to Improve your Skills
Why you’re not using these 15 amazing Photoshop shortcuts yet?

Top Hidden Features of Photoshop, You Are Not Using