Professional Body Reshaping in Adobe Photoshop Using the Liquify Tool
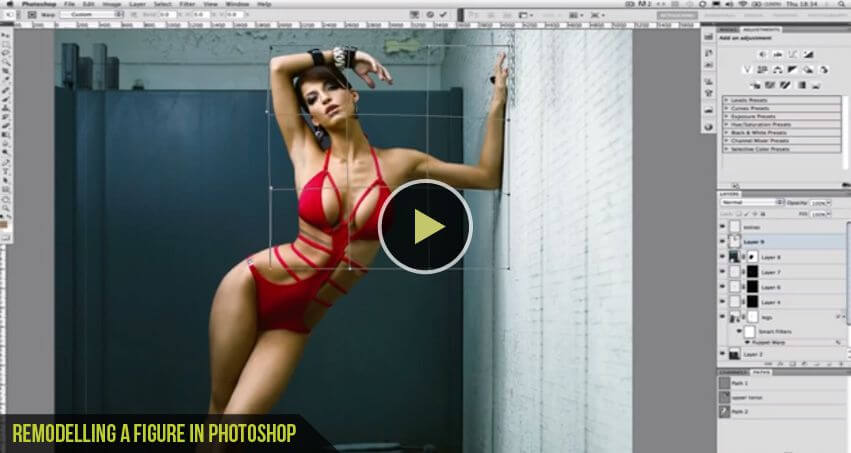
Professional Body Reshaping in Adobe Photoshop Using the Liquify Tool
Adobe Photoshop’s Liquify Tool is one of the most powerful techniques for professional body reshaping, waist slimming, body contouring, and portrait retouching. The key to realistic photo editing is making subtle adjustments while preserving natural anatomy, background lines, and image quality. This workflow is widely used by professional retouchers, fashion photographers, and social media creators across the USA for clean, high-end edits.
Step 1: Prepare Your Image for Non-Destructive Editing
Before starting any Photoshop body retouching:
- Open your image in Adobe Photoshop.
- Duplicate the background layer using Ctrl + J (Windows) or Cmd + J (Mac).
- Right-click the duplicated layer and choose Convert to Smart Object.
Using a Smart Object allows you to apply non-destructive Liquify edits, making it easier to refine or remove adjustments later without damaging the original image.
Step 2: Open and Configure the Liquify Tool
To begin reshaping:
- Navigate to Filter > Liquify or press Shift + Ctrl + X.
- Select the Forward Warp Tool from the toolbar (finger icon).
Recommended Brush Settings for Natural Results
For smooth and realistic body contouring:
- Use a brush slightly larger than the area you want to reshape.
- Keep Brush Pressure low, around 10–30%.
- Use slow, controlled movements instead of aggressive dragging.
These settings help avoid warped textures, jagged edges, and unrealistic body proportions.
Step 3: Reshape the Body Naturally
Professional Photoshop retouching focuses on subtle enhancements.
Common Liquify Adjustments
- Slim the waist by gently pushing outer body edges inward.
- Refine arms and legs with small controlled drags.
- Slightly lengthen legs, neck, or posture for a balanced look.
- Improve clothing fit and body symmetry.
Important Tip
Always zoom in and out frequently while editing. This helps maintain realistic proportions and prevents over-editing – a common mistake in beginner Photoshop body reshaping tutorials.
Step 4: Protect Backgrounds and Details with the Freeze Mask Tool
One of the biggest challenges in body reshaping is avoiding distorted backgrounds or bent objects.
Use the Freeze Mask Tool (brush with an “X” icon) to lock areas you don’t want affected, such as:
- Walls and door frames
- Furniture edges
- Hands and fingers
- Hair details
- Clothing patterns
This technique is essential for professional-looking Photoshop edits used in fashion photography, fitness transformations, and influencer retouching.
If needed, switch to the Thaw Mask Tool to remove protected areas and continue editing.
Step 5: Refine and Blend the Final Look
After reshaping:
Use the Reconstruct Tool
If an adjustment looks too strong or unnatural:
- Select the Reconstruct Tool inside Liquify.
- Gently paint over the area to restore original pixels gradually.
Blend with Layer Masks
Once satisfied:
- Click OK to apply the Liquify effect.
- Add a Layer Mask to the Smart Object.
- Use a soft black brush with low opacity to subtly reduce harsh edits and blend everything naturally.
This final blending step creates realistic Photoshop retouching results without obvious editing artifacts.
Pro Tips for Realistic Photoshop Body Retouching
- Avoid extreme slimming or stretching.
- Keep body anatomy believable.
- Watch for warped backgrounds and uneven joints.
- Use small edits across multiple passes instead of one aggressive transformation.
- Compare your edit with the original image frequently.
Professional retouchers in the USA often rely on this workflow for magazine editing, fashion campaigns, fitness photos, portrait enhancement, and social media content creation.
By combining subtle Liquify adjustments, Smart Objects, Freeze Masks, and layer masking, you can achieve clean, natural-looking body reshaping in Adobe Photoshop while preserving image realism and professional quality.
We are always interested in hearing your thoughts. Please give us your opinion. Your feedback/comments is valuable to us and will help us improve your online experience at our blog.
Don't Miss
Professional Photo Retouching – Pure Beauty – By MTC
How to Remove Background in Photoshop: 6 Methods Tested on the Same Image
How to Make Advanced Hair Selections in Photoshop (Step-by-Step Guide)

How to Make Photoshop Run Faster (Even with 1000+ Layers)
How to Reduce Photoshop File Size Without Losing Quality