How to Remove Background in Photoshop: 6 Methods Tested on the Same Image
Every Photoshop tutorial tells you to use the Quick Selection Tool. Most of them show you a clean product on a white background and call it a day. Real projects are messier than that. You’ll get a photo of someone with curly hair, a glass bottle with reflections, a shoe with thin laces, or a car shot on a parking lot. None of those behave the same way, and no single tool handles all of them well.
So instead of just listing tools, I tested six different background removal methods on the same images and showed you what each one actually produces. That way you can look at your image, match it to the closest example, and go straight to the right method rather than trying everything until something works.
The fastest way to remove a background in Photoshop is the Remove Background button in the Properties panel (Window > Properties). It uses AI and works in one click. For complex subjects like hair or fur, use Select and Mask with the Refine Edge Brush. For hard-edged products, the Pen Tool gives the cleanest result.
More Photoshop Guides on CGfrog:
- How to Make Advanced Hair Selections in Photoshop
- How to Sharpen Blurry Images in Photoshop
- How to Make Photoshop Run Faster
- 300+ Free Color Gradients for Photoshop
Before You Start: One Rule That Saves Everything
Before you touch a single tool, duplicate your layer. Press Ctrl + J on Windows or Cmd + J on Mac. Do all your background removal work on the copy, never on the original.
This sounds obvious but most beginners skip it. Then they erase part of the subject, realize it three steps later, and have nothing to go back to. A duplicated layer costs you two seconds and has saved me hours of redoing work.
If you’re working on client projects, Envato Elements gives you access to premium mockups, stock photos, fonts, templates, and Photoshop assets under a single subscription.
Also use layer masks instead of the Eraser tool. A mask hides pixels without deleting them, which means you can always paint them back if you make a mistake. The Eraser is permanent. Once those pixels are gone, they are gone.
Pro Tip: Get into the habit of renaming your layers before you start. “Original” for the locked background, “Working Copy” for the layer you are editing. Sounds small, but on a project with 20 layers it makes a real difference.
1. Remove Background Button (AI) – Fastest
Best for: Portraits, people, animals, clear subjects on reasonably distinct backgrounds. Photoshop 2020 and later.
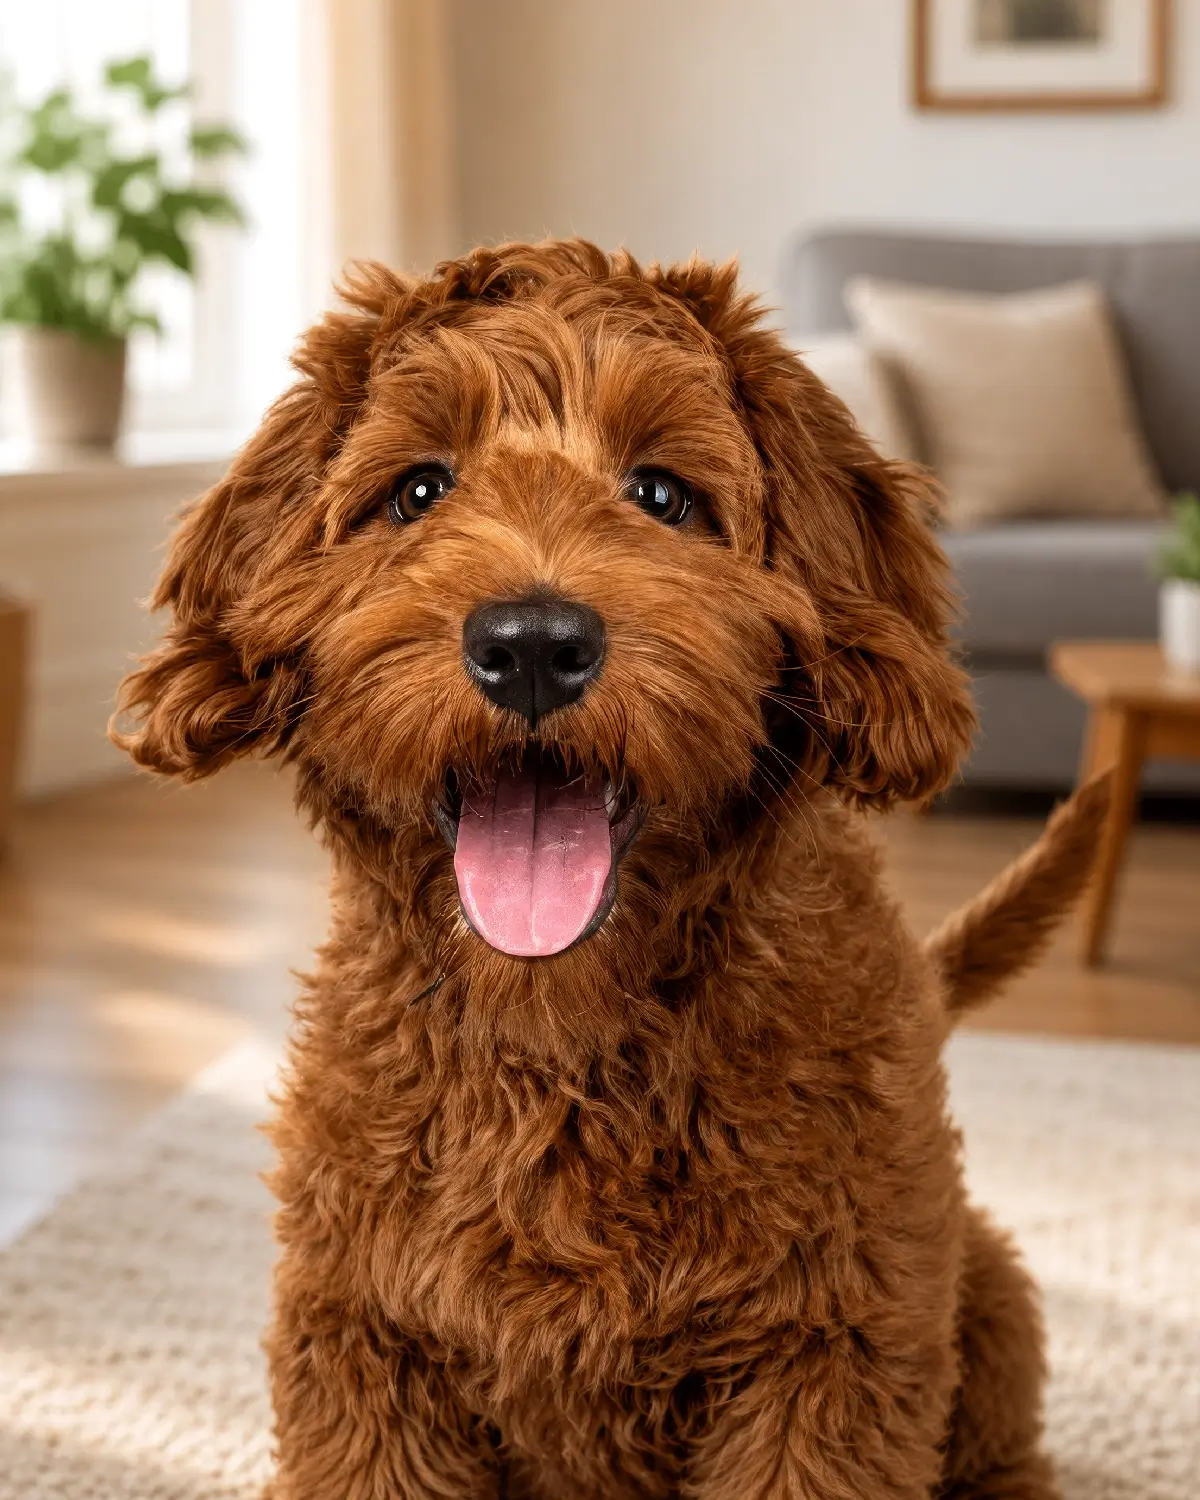
This is the one I try first on almost every image. Open the Properties panel (Window > Properties), make sure your layer is selected, and click Remove Background. Photoshop uses Adobe Sensei AI to analyze the image and create a layer mask automatically. On a good day it takes about three seconds.
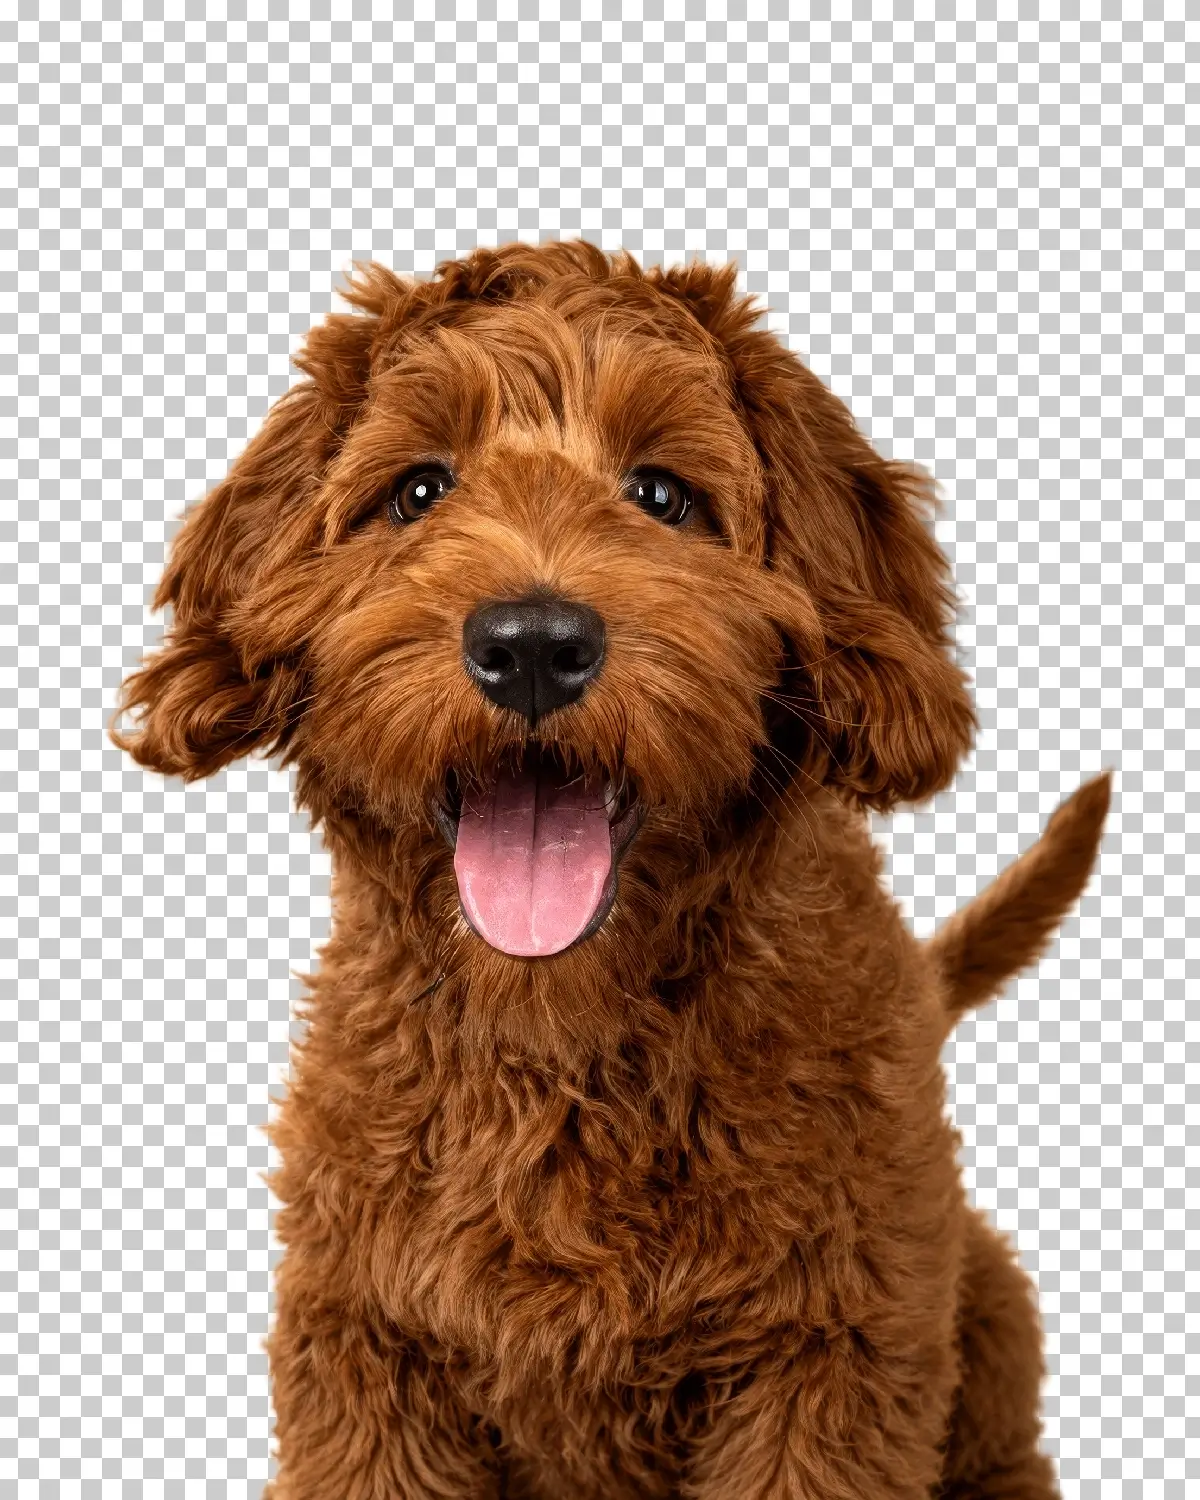
AI Remove Background – one click result. Fast but notice the slight edge loss around the fur tips
Step 1
Open the Properties Panel
Go to Window > Properties. If you do not see the Remove Background button, make sure you have a regular pixel layer selected, not a Smart Object or adjustment layer.
Step 2
Click Remove Background
One click and Photoshop processes the image. You will see a layer mask appear automatically on your layer. The background is hidden, not deleted, so you can always go back and fix the mask.
Step 3
Clean Up the Mask
Zoom in to 100% and check the edges. AI is good but it is not perfect. For any rough spots, click the mask thumbnail and use a soft brush set to black (to hide pixels) or white (to reveal them). For hair and fur edges, go straight into Select and Mask – see Method 2 for that workflow.
When it struggles: Low contrast between subject and background, very fine hair, glass, or subjects that blend into the background. The AI genuinely does not know where the subject ends if there is no clear edge to work with. Switch to Method 2 or Method 6 in those cases.
2. Select Subject + Select and Mask – Best Overall
Best for: People, portraits, hair, fur, anything with soft or complex edges. This is the method I use most often for client work.
Select Subject does the heavy lifting of finding the subject automatically. Select and Mask then gives you precise control over the edges, especially hair. It is the best combination of speed and quality for most portrait and people photography.
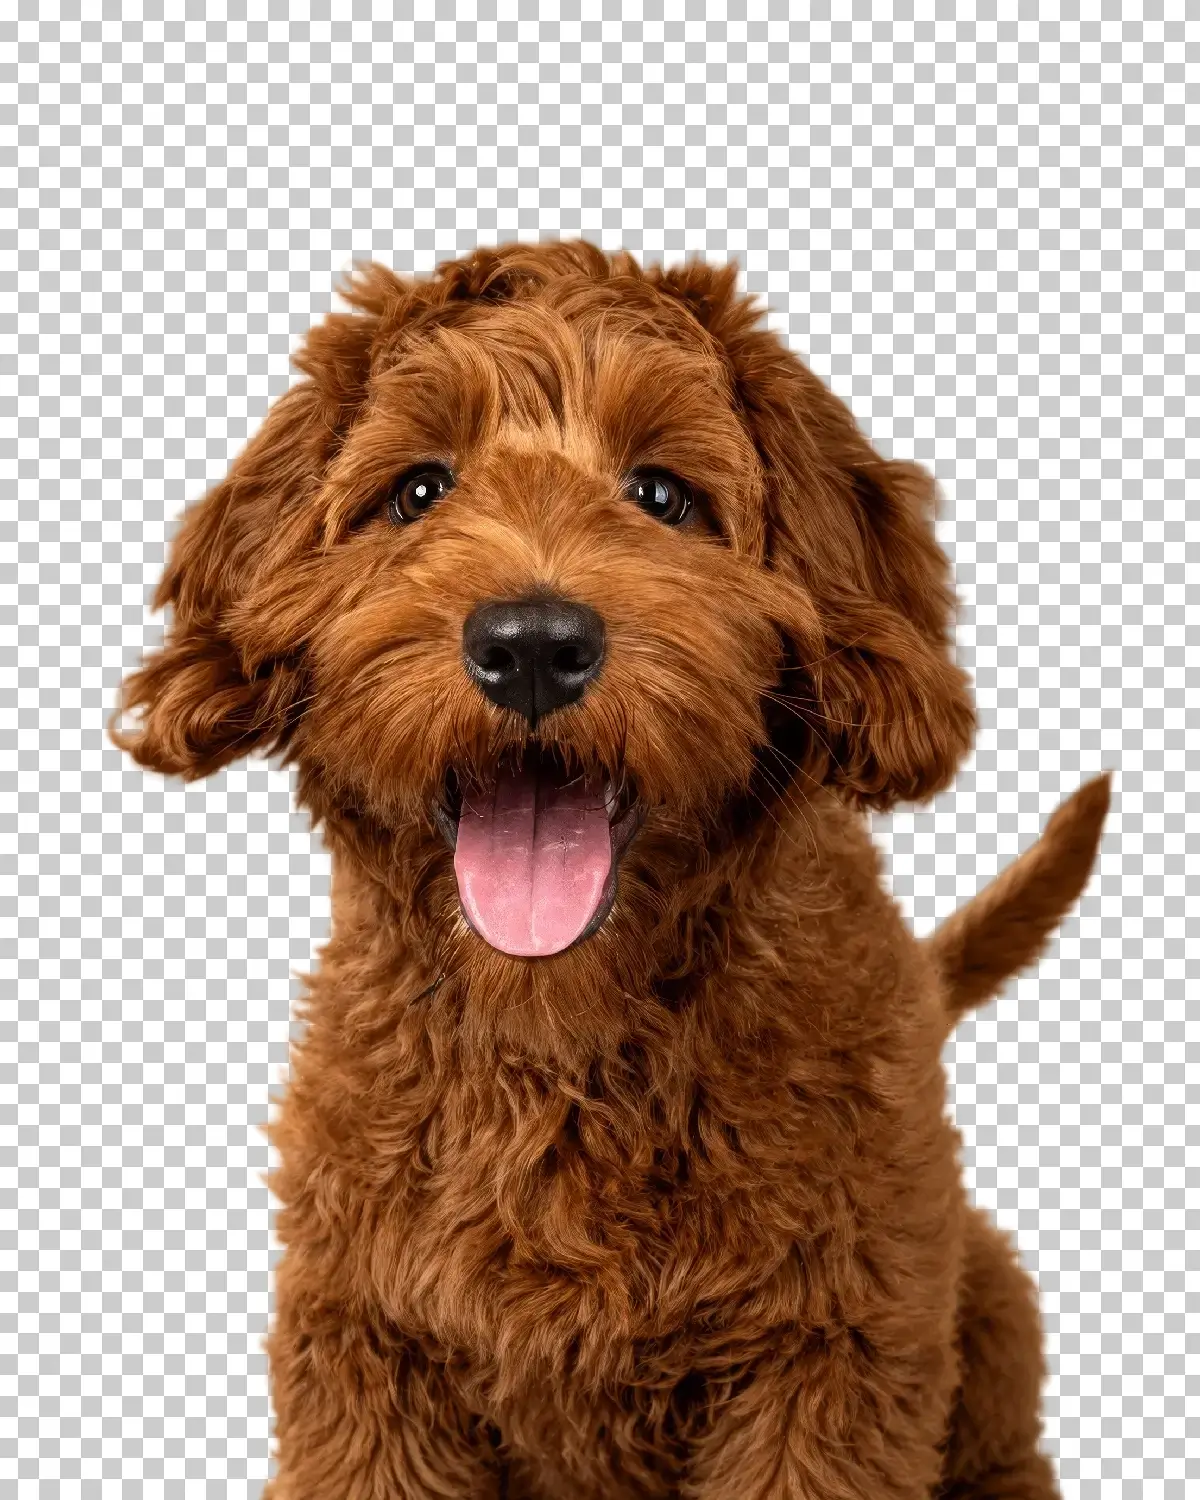
Select Subject + Select and Mask with Refine Edge Brush – individual fur strands captured naturally
Step 1
Run Select Subject
Go to Select > Subject. Photoshop creates an automatic selection around the main subject. It will not be perfect around the hair, but it does not need to be at this stage.
Step 2
Open Select and Mask
With the selection active, go to Select > Select and Mask or press Alt + Ctrl + R on Windows / Option + Cmd + R on Mac. Change the View to On Black so you can see exactly which hair strands are missing.
Step 3
Paint With the Refine Edge Brush
Select the Refine Edge Brush Tool (press R inside Select and Mask). Paint over the hair edges where the selection is rough. Photoshop will analyze those areas in detail and pull in individual strands. Use [ and ] to change the brush size. Paint only the transition zone, not the entire head of hair.
Step 4
Enable Smart Radius and Decontaminate Colors
Under Edge Detection, check Smart Radius and set it to around 10px. Under Output Settings, check Decontaminate Colors at about 50%. This removes the background color that bleeds into hair edges – the most common reason hair cutouts look fake on a new background.
Step 5
Output as Layer Mask
In the Output To dropdown, choose New Layer with Layer Mask and click OK. Done.
Pro Tip: After outputting the mask, place a solid color layer behind your subject and toggle it between white, black, and your final background color. Problems that disappear on white will show up on black and vice versa. This two-second check catches 90% of the cleanup work before you deliver anything.
3. Quick Selection Tool – Fast
Best for: Subjects with clear edges and good contrast against the background. Works well when the subject and background are noticeably different in color or tone.
The Quick Selection Tool is one of the most beginner-friendly tools in Photoshop. You paint over the subject and Photoshop detects the edges automatically. It is not as smart as Select Subject but it gives you more control over exactly which areas get selected.
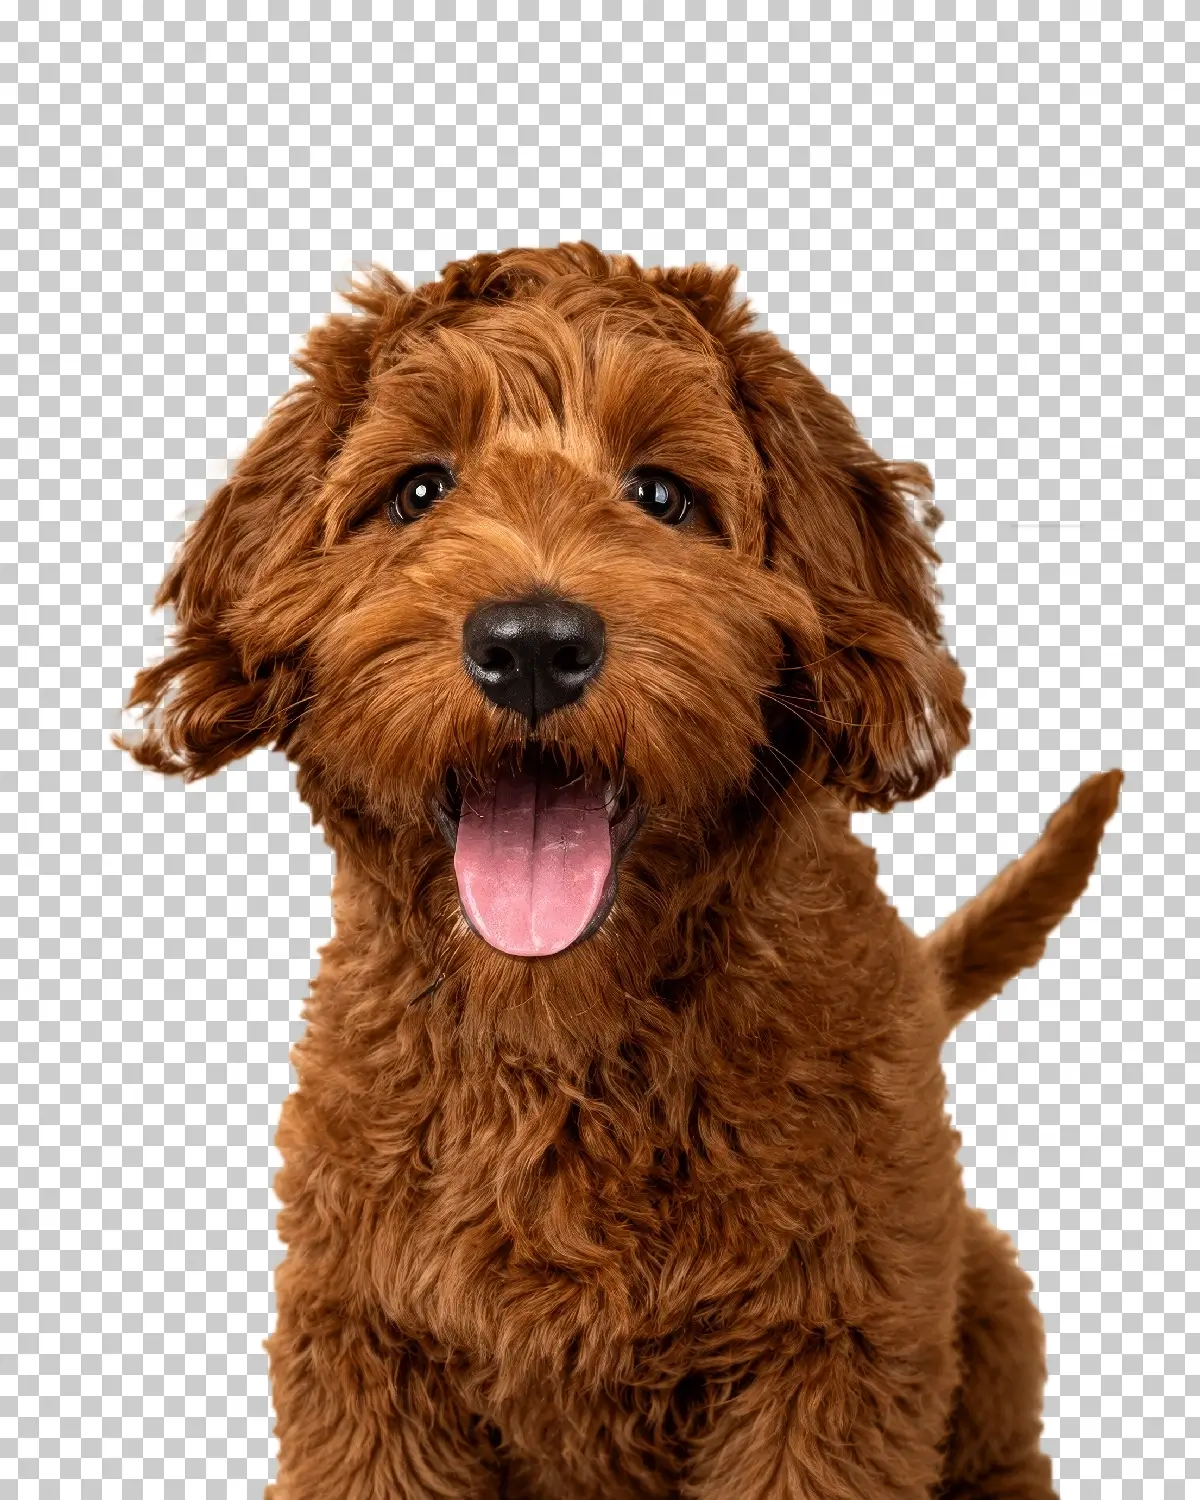
Quick Selection Tool – good for clear edges but struggles with fine fur detail compared to Select and Mask
Step 1
Select the Quick Selection Tool
Press W or find it in the toolbar. Make sure you are in Add to Selection mode (the brush with a plus icon in the Options bar). Set your brush size to roughly a quarter of the subject size as a starting point.
Step 2
Paint Over the Subject
Click and drag across the subject. Photoshop detects the edges as you paint. Work from the center outward. If the selection spills into the background, hold Alt (Windows) or Option (Mac) and paint over the spillage to remove it from the selection.
Step 3
Refine and Mask
Once the main shape is selected, click Select and Mask in the Options bar to clean up the edges. Follow the same steps from Method 2 for the Refine Edge Brush on any complex areas. Then output as a Layer Mask.
Common problem: The selection bleeds into similar-colored areas of the background. If this keeps happening, reduce your brush size and work more slowly near the edges. A smaller brush gives Photoshop more accurate edge data to work with.
4. Pen Tool – Pro
Best for: Products, shoes, bags, cars, bottles, furniture — anything with clean, hard edges. If you are doing e-commerce photography or product retouching, this is the most important method to learn.
The Pen Tool is the most precise background removal method in Photoshop. It takes longer than the AI tools but the result is pixel-perfect. No algorithm guessing, no soft edges where you do not want them. You draw the path yourself and tell Photoshop exactly where the subject ends.
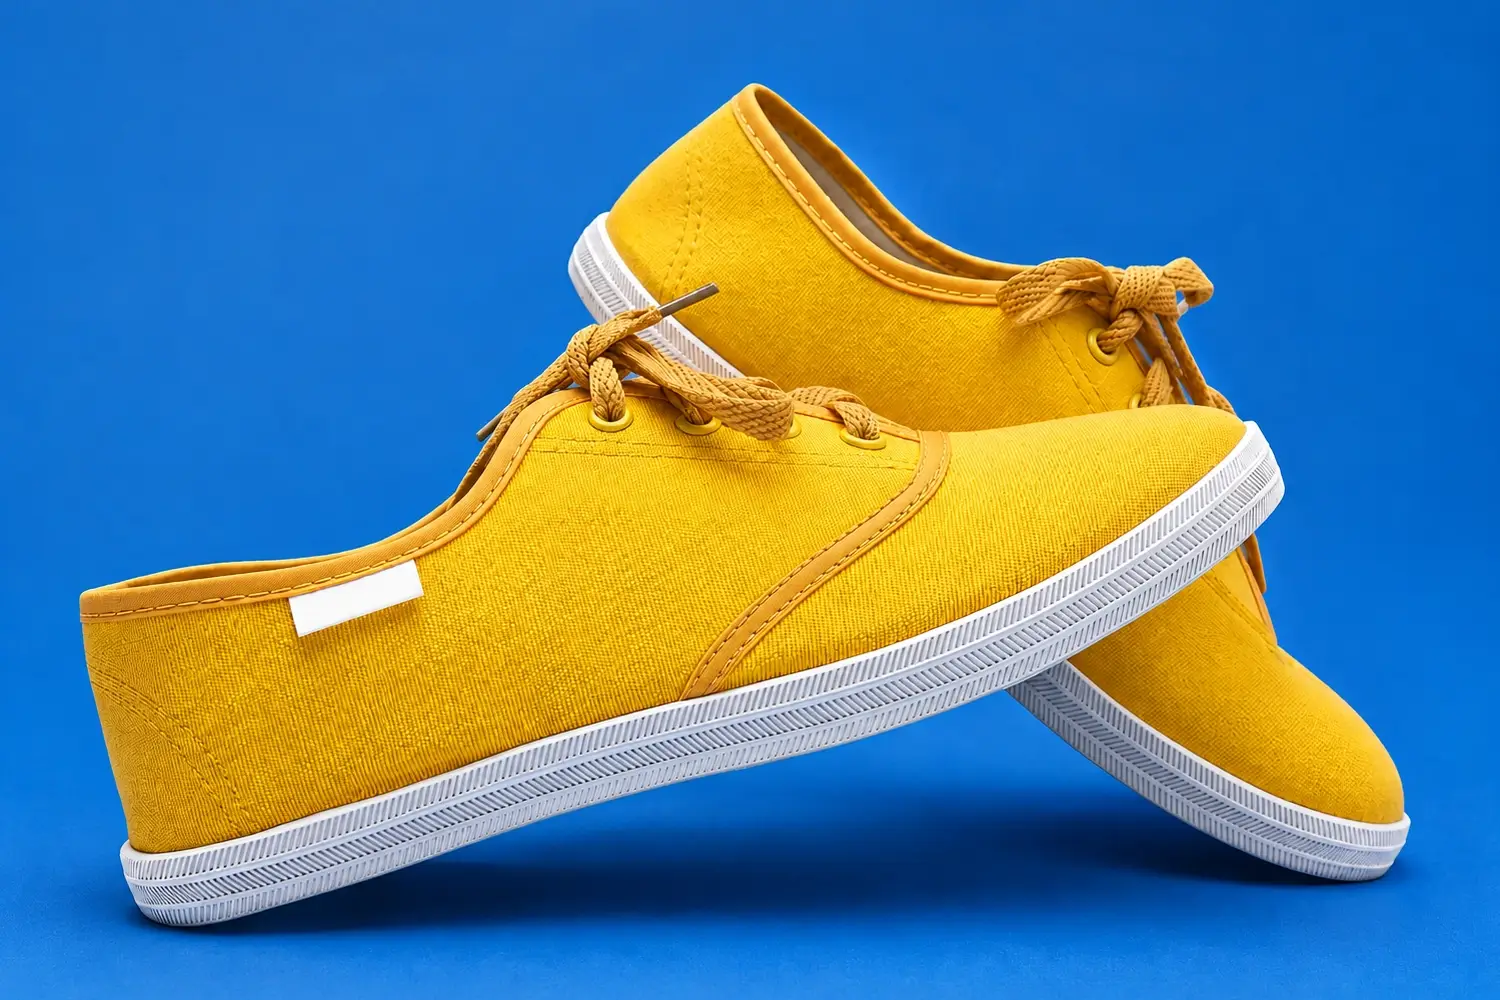
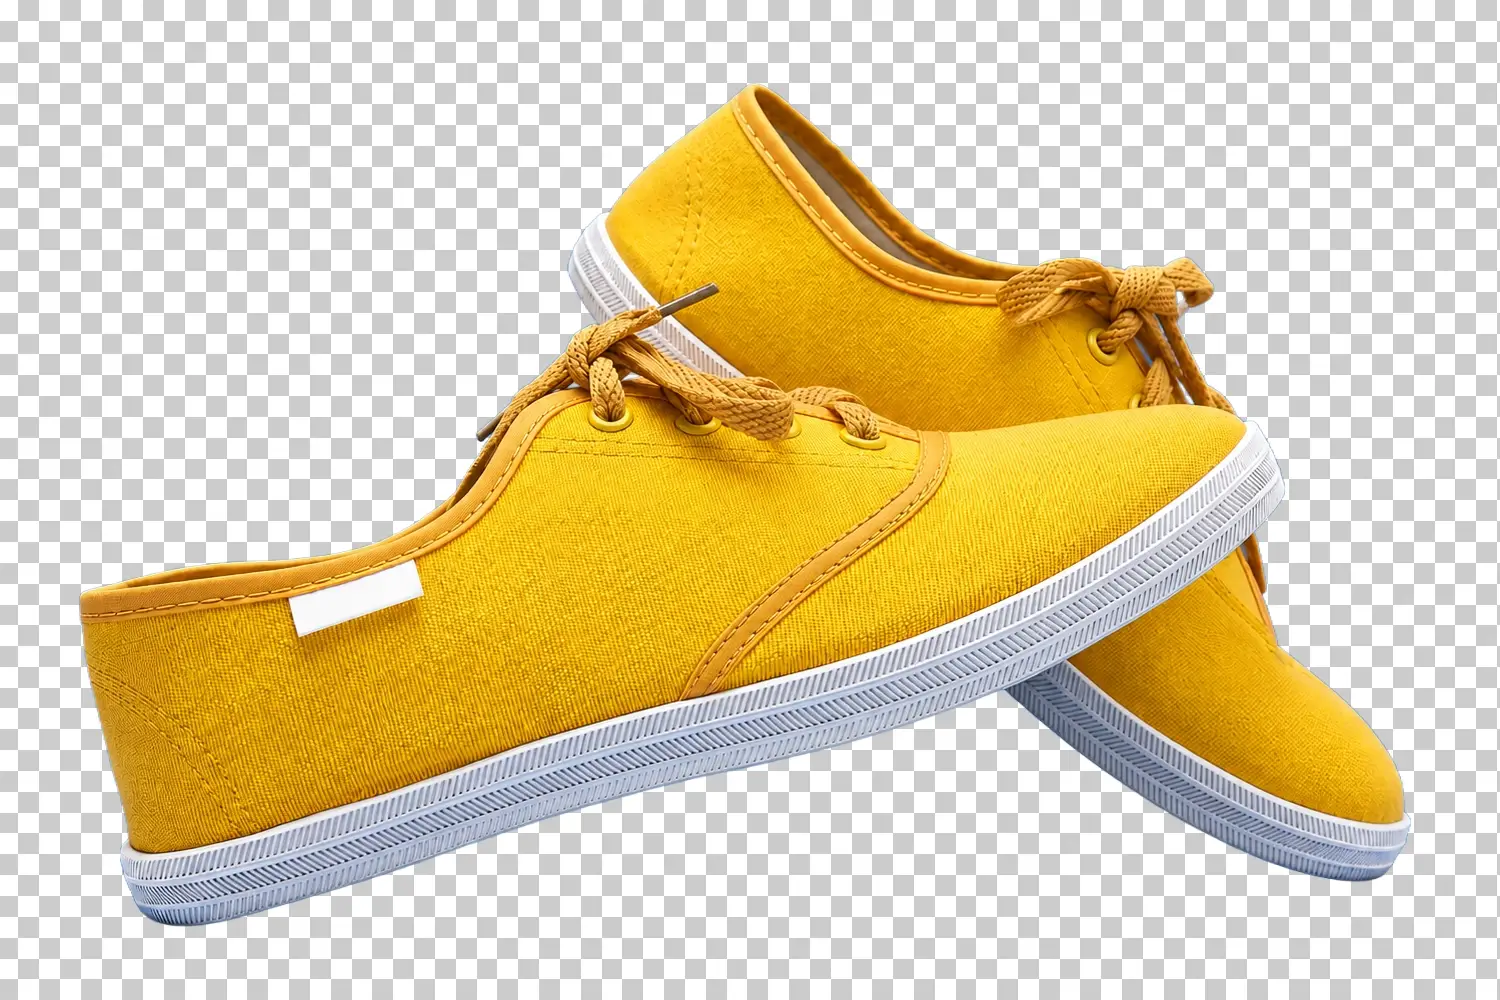
Pen Tool – pixel perfect cutout on hard edges. The go-to method for product and e-commerce photography
Step 1
Select the Pen Tool
Press P In the Options bar, make sure it is set to Path mode, not Shape. Zoom into the image to at least 100% before you start drawing. Trying to trace a path at 25% zoom is how you end up with a jagged mess.
Step 2
Start Drawing the Path
Click to place anchor points around the edge of the subject. For straight edges, single clicks create corner points. For curves, click and drag to create smooth curve handles. The key is to place fewer anchor points than you think you need. Let the curve handles do the work rather than placing an anchor point every few pixels.
Step 3
Close and Refine the Path
Close the path by clicking back on the first anchor point. To adjust any point after placing it, hold Ctrl (Windows) / Cmd (Mac) and click it. To adjust curve handles, hold Alt / Option Take your time here. The quality of your cutout is directly proportional to the time you spend on the path.
Step 4
Convert Path to Selection and Mask
Open the Paths panel (Window > Paths). Right-click your work path and choose Make Selection. Set Feather Radius to 0 for hard-edged products. Click OK. Then click the Add Layer Mask button at the bottom of the Layers panel.
Pro Tip: For products shot on a pure white background, you can sometimes get away with Color Range (Method 5) which is much faster. Use the Pen Tool when the background color is close to any part of the product, when there are reflections, or when the client expects pixel-perfect edges at full resolution.
5. Color Range – Fast
Best for: Subjects on a solid, consistent background – white studio backgrounds, blue/green screens, or any situation where the background is one dominant color that does not appear in the subject.
Color Range selects pixels based on color rather than shape or edge detection. If your subject is on a clean white background and none of the subject is white, this method is extremely fast and accurate.
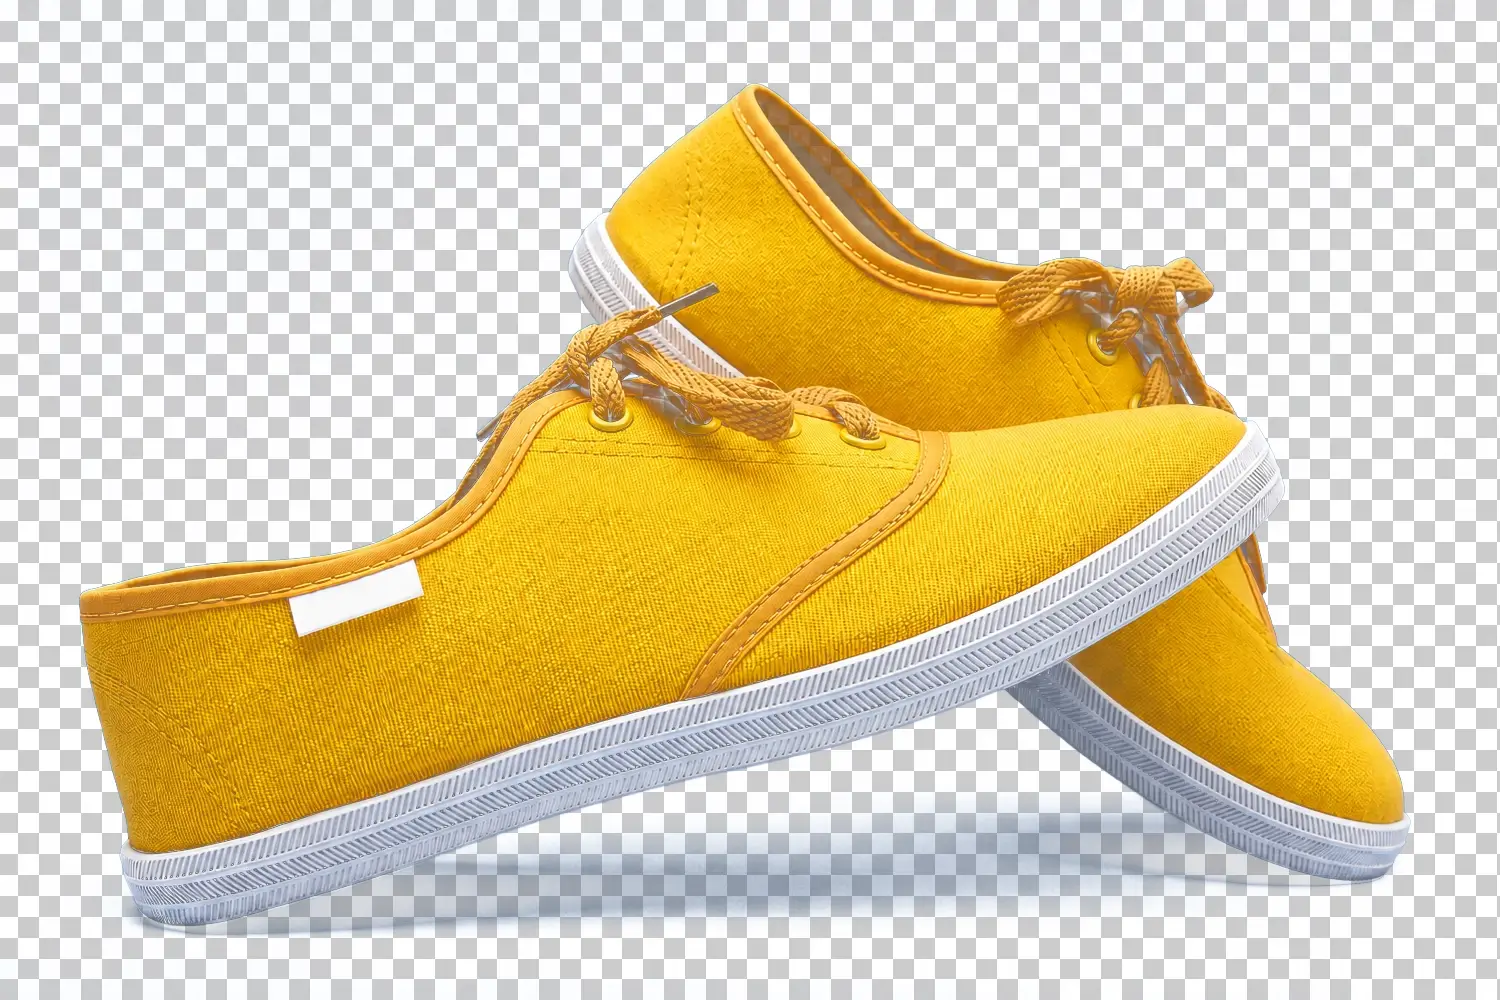
Color Range – ideal for solid colored backgrounds. Clean result when subject and background colors don’t overlap
Step 1
Open Color Range
Go to Select > Color Range. The dialog opens with an eyedropper active. Make sure Sampled Colors is selected in the dropdown at the top.
Step 2
Sample the Background Color
Click on the background in your image or in the preview window. The white areas in the preview show what is selected. Adjust the Fuzziness slider to expand or contract the selection. Higher fuzziness selects more similar colors. Aim for the background to be fully white in the preview without eating into the subject.
Step 3
Add Any Missed Background Areas
Hold Shift and click any background areas that were missed. Use the Add to Sample eyedropper in the dialog. Click OK when the preview looks clean.
Step 4
Invert and Mask
Since Color Range selected the background, go to Select > Inverse ( Ctrl + Shift + I ) to flip the selection to the subject. Then add a Layer Mask.
When it fails: If the background color appears anywhere in the subject (like a white shirt on a white background, or a glass bottle that reflects the background), Color Range will start selecting parts of the subject too. In those cases, the Pen Tool or Select and Mask will give better results.
6. Channel-Based Selection – Pro
Best for: Complex hair, curly hair, fur, fine strands, and any subject where the AI tools keep losing edge detail. This is the method professionals use when nothing else works well enough.
The channel method builds a mask from the raw color data in the image rather than from edge detection algorithms. It is more manual than the other methods but it handles cases that genuinely defeat everything else – especially detailed hair against complex backgrounds.
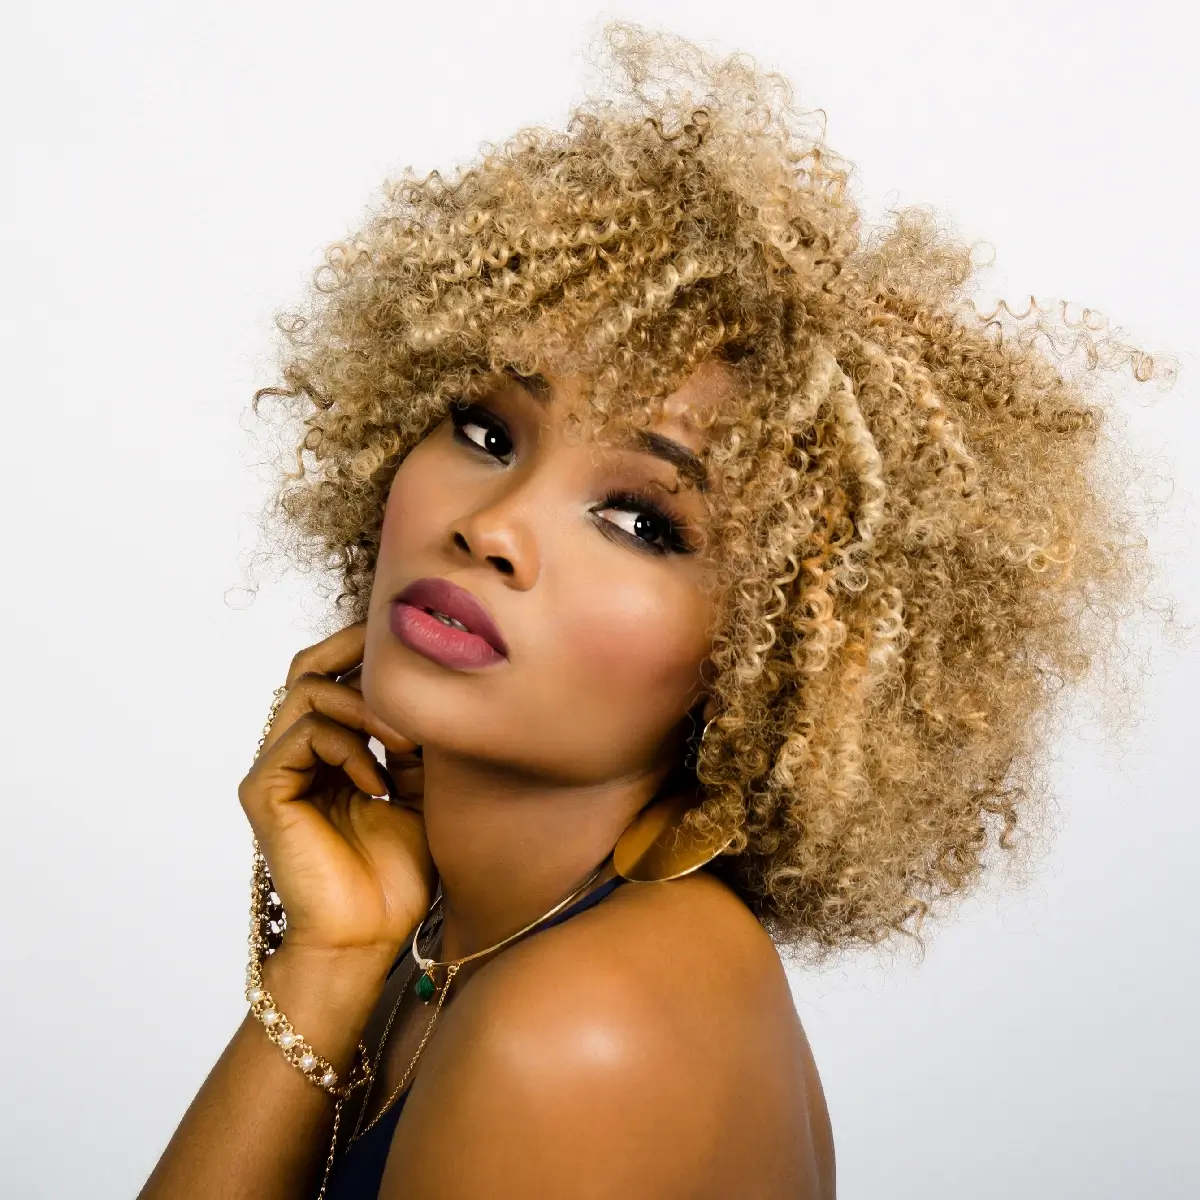
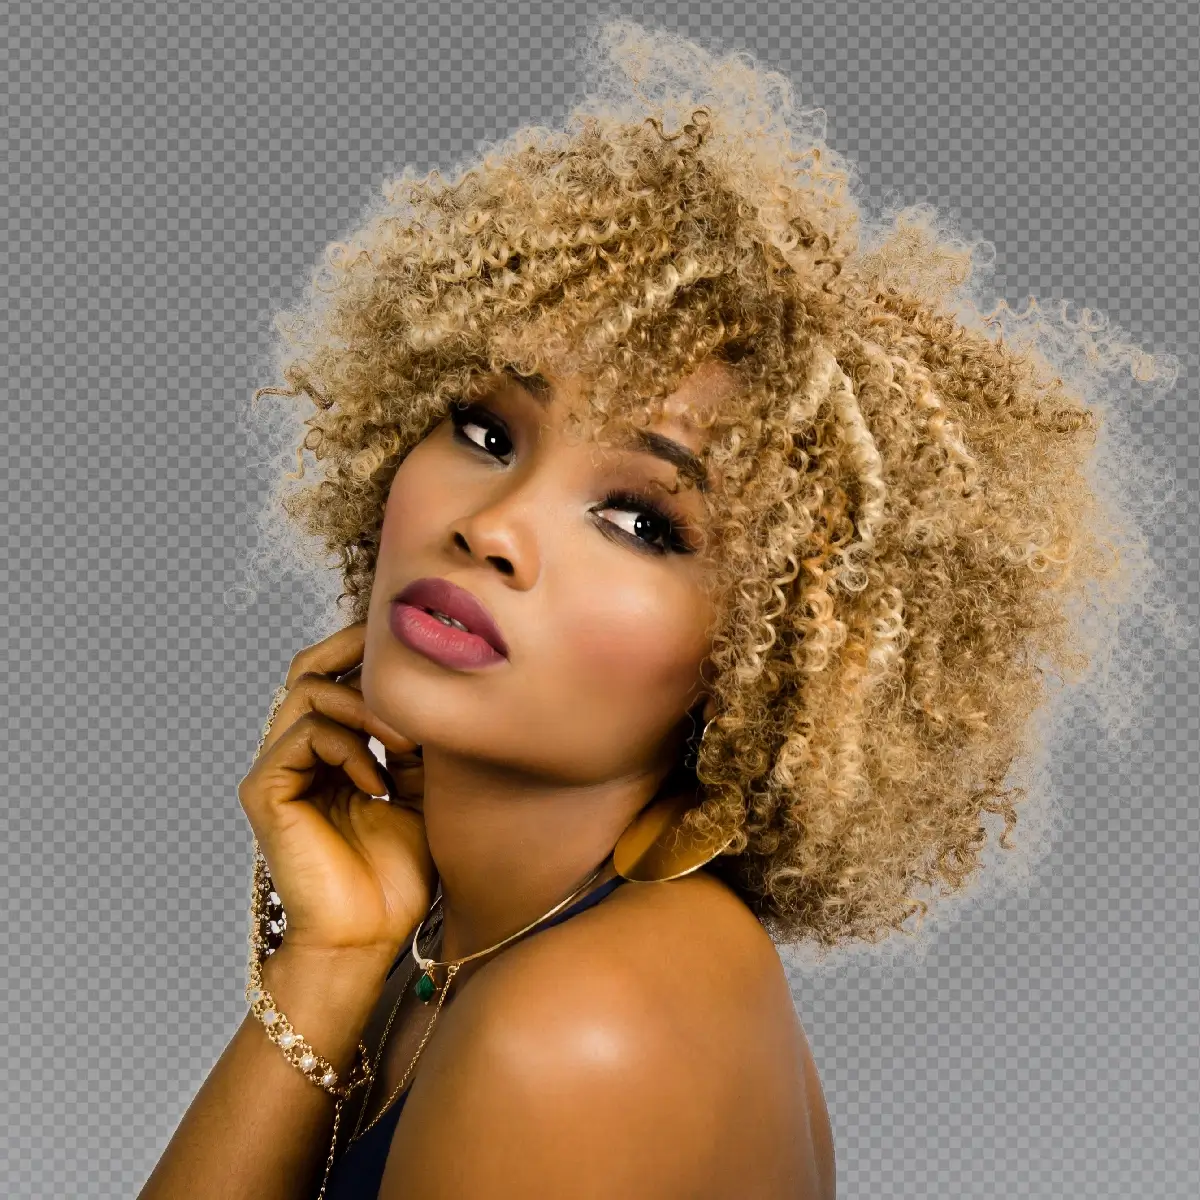
Channel-Based Selection – finest hair strands and semi-transparency preserved. The professional’s choice for complex hair
For the full step-by-step channel workflow, see our dedicated guide: How to Make Advanced Hair Selections in Photoshop. That guide covers the complete channel process in detail, including how to boost contrast, paint in the body, load the channel as a selection, and fix color contamination after.
Real talk: The channel method has a learning curve. The first time takes longer and feels awkward. By the third time, it becomes the fastest route to a clean result on difficult images. It is one of those skills that pays off every time you use it.
Which Method Should You Use?
Here is the honest breakdown based on actual results rather than what sounds impressive:
| Your Image | Best Method | Time | Quality |
|---|---|---|---|
| Person on plain background, quick job | Remove Background Button | Under 1 min | Good |
| Portrait with hair, final deliverable | Select Subject + Select and Mask | 5 to 15 min | Excellent |
| Subject with clear, high contrast edges | Quick Selection Tool | 2 to 5 min | Good |
| Product, shoe, object, hard edges | Pen Tool | 10 to 30 min | Pixel Perfect |
| Subject on solid white/colored background | Color Range | 2 to 5 min | Good |
| Complex hair, fur, fine strands | Channel-Based Selection | 15 to 45 min | Professional |
One thing worth knowing: these methods are not mutually exclusive. In a typical portrait retouching job, I will start with Select Subject to get the body and face quickly, then switch to the Refine Edge Brush for the hair, and occasionally use the Pen Tool on any accessories with hard edges like jewelry or bags. The fastest workflow is often a combination.
Recommended Resources
If you’re working on client projects, Envato Elements gives you access to premium mockups, stock photos, fonts, and Photoshop assets under one subscription.
For individual assets, Creative Market has thousands of Photoshop brushes, actions, and templates from independent designers.
Common Mistakes That Ruin Background Removals
Using the Eraser Tool Instead of a Layer Mask
The Eraser permanently deletes pixels. One wrong stroke and there is no undo past your history limit. Always use a layer mask. Always.
Ignoring Color Contamination
After removing a background, hair edges often carry the color of the original background. Put the subject on a white background and then a black background. The fringing becomes obvious. Fix it with Decontaminate Colors inside Select and Mask, or with a clipped Hue/Saturation adjustment layer targeting the background color.
Working at Low Zoom
Background removal at 25% zoom looks fine until you deliver it at full size. Do your final edge cleanup at 100% zoom minimum. Especially for the Pen Tool and manual mask painting.
Not Checking Against the Final Background
A cutout that looks clean on a white canvas can look terrible on a dark background and vice versa. Always proof your mask against the actual background the client or project needs before calling it done.
Trying to Fix a Bad Photo With Photoshop
If the subject blends into the background, no tool will save it cleanly. A low-contrast image with compressed edges will always produce a messy cutout no matter which method you use. When the image quality allows it, a retake is faster than hours of manual cleanup.
FAQ
The easiest method is the Remove Background button in the Properties panel (Window > Properties). It uses AI to remove the background in one click and works well on most portrait and product images with clear subject-background separation. For more control, use Select Subject followed by Select and Mask.
For a clean white background with no white in the subject, use Color Range (Select > Color Range), sample the white background, adjust the Fuzziness slider, then invert the selection and add a layer mask. For subjects that have white areas like a white shirt, use Select Subject or the Pen Tool instead to avoid losing part of the subject.
Use Select and Mask with the Refine Edge Brush. Start with a rough selection using Select Subject, then open Select and Mask and paint over the hair edges with the Refine Edge Brush. Enable Smart Radius and Decontaminate Colors before outputting. For very complex or curly hair, the Channel-Based method gives cleaner results.
The Remove Background button in the Properties panel has improved significantly in recent versions and is the best starting point for most images. Adobe has updated the underlying AI model to handle hair and complex edges better than older versions. For professional-quality results, follow up with Select and Mask refinement regardless of which Photoshop version you are using.
Always use a Layer Mask. The Eraser tool permanently deletes pixels and cannot be undone beyond your history limit. A layer mask hides pixels non-destructively, meaning you can always paint them back if you make a mistake. This is one of the most fundamental non-destructive workflows in Photoshop and applies to all background removal work.
With the AI Remove Background button, under one minute for most images. Select Subject plus Select and Mask takes 5 to 15 minutes for a clean portrait result. The Pen Tool on a product takes 10 to 30 minutes depending on complexity. The Channel method for complex hair takes 15 to 45 minutes. The time investment scales with the quality requirement and the complexity of the image.
Yes. The Remove Background button in the Properties panel does this automatically using Adobe Sensei AI. You can also use Select > Subject which automatically selects the subject in one click. Both options work best on images with clear separation between subject and background. Complex backgrounds, low contrast, or heavily detailed subjects may still need manual refinement.
Don't Miss
How to Make Advanced Hair Selections in Photoshop (Step-by-Step Guide)

How to Make Photoshop Run Faster (Even with 1000+ Layers)

How to Sharpen Blurry Images in Photoshop: 3 Methods That Work
10 Things You Must Avoid in Photoshop CC to Improve your Skills
Why you’re not using these 15 amazing Photoshop shortcuts yet?